 REINFORM
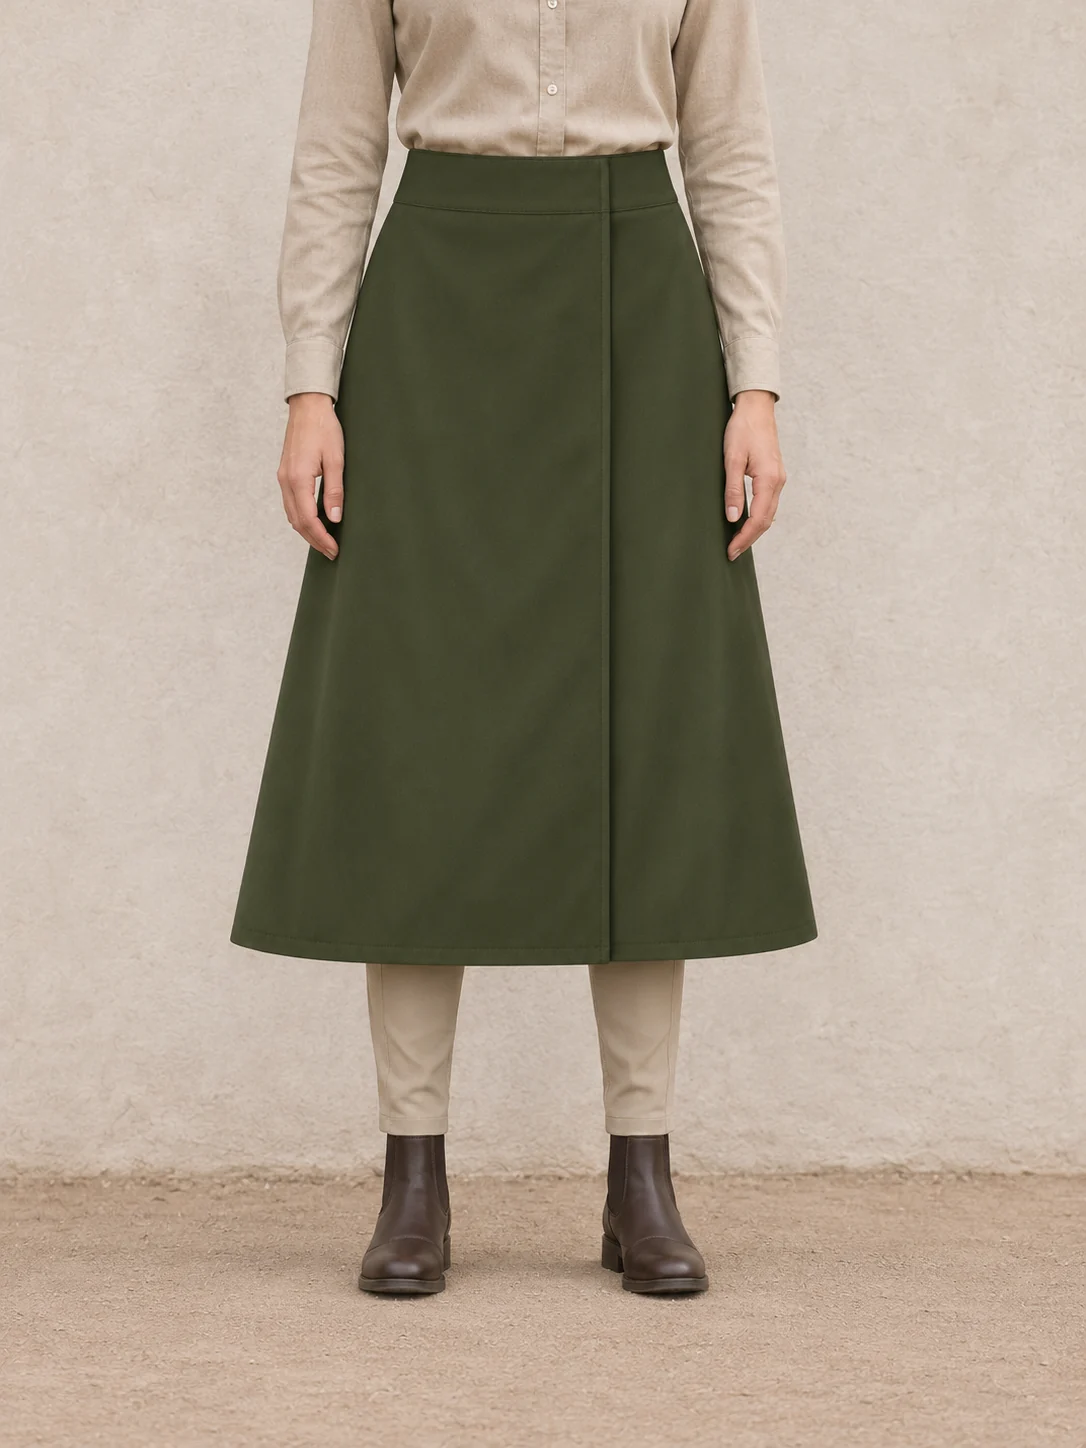
Set the overlap before cutting the shell.
Skirt Manufacturer for a Wrap Riding Overskirt
Brief a skirt manufacturer on a wrap riding overskirt. Define the waist adjustment, full front overlap and rear opening over named riding trousers.
PUBLICATION /
CONTENT REVIEW /
A development direction for your brand. Final material, construction and performance by specification and sample approval.START WITH
THE RIDER.
For equestrian brands and trade buyers specifying a waist-supported layer to go over an existing trouser range. Bring the exact trousers and size used for the fit session, the intended waist level, and the preferred front coverage. Ask for a sample record that shows the front overlap and rear opening together at each waist setting.
Product development context
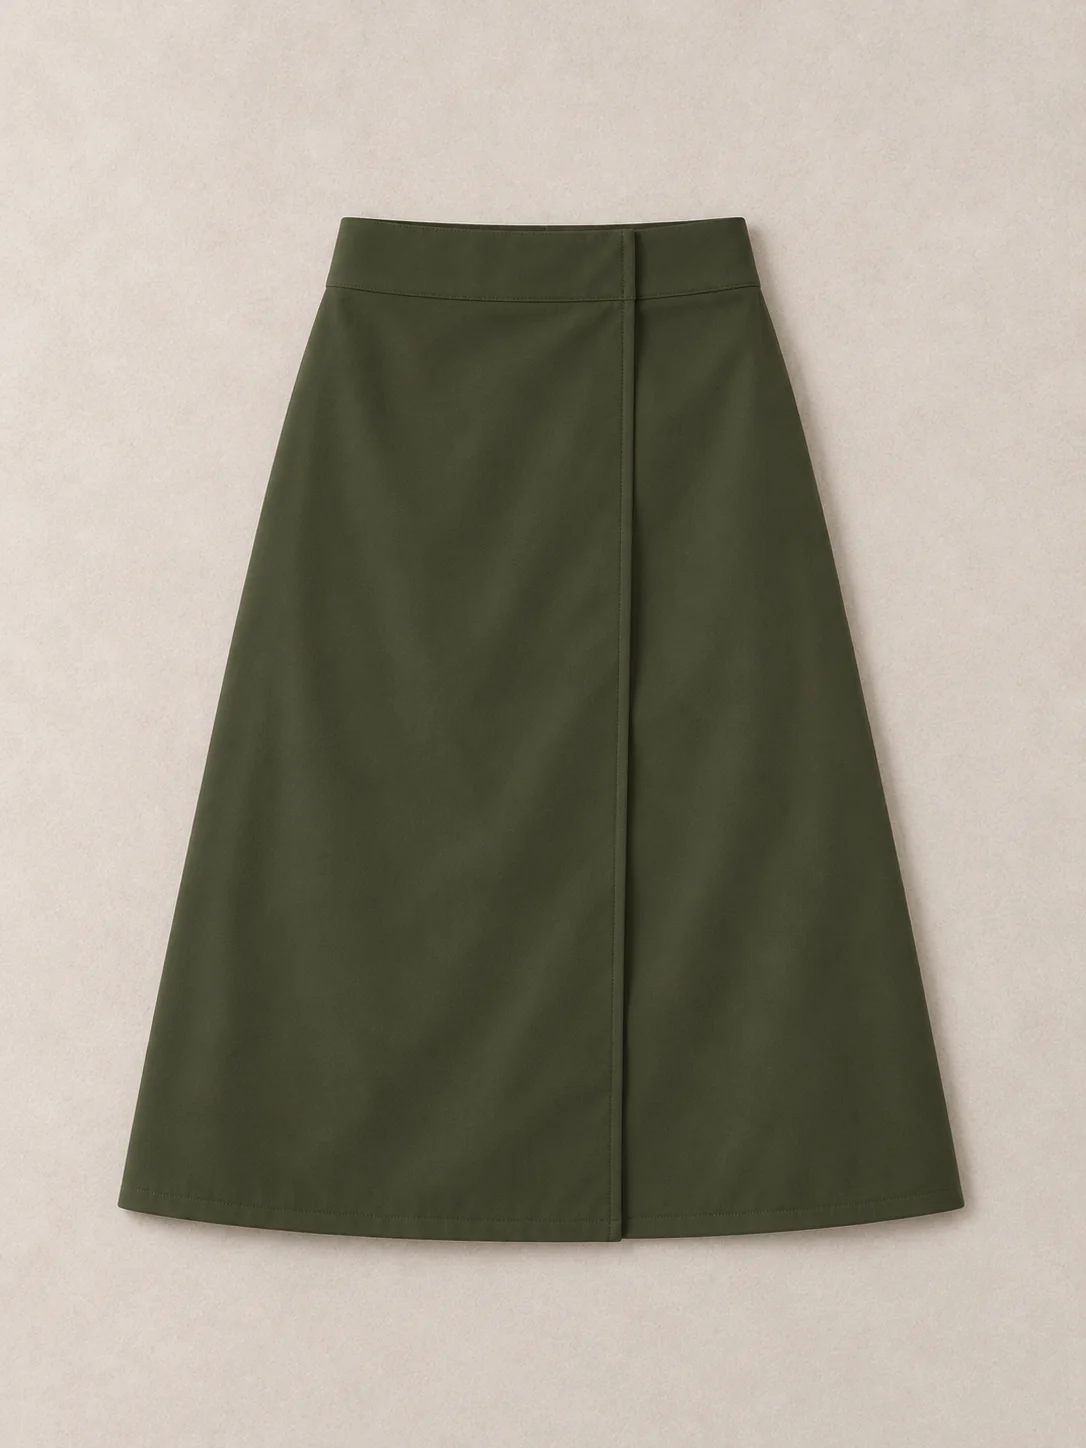
Develop an adult mid-calf A-line shell in matte dark olive, worn over a named pair of riding trousers. The wide, smooth waistband carries the skirt. The front opens fully when the concealed inner flat anchor and the outer adjustment are released. The outer adjustment offers two positions beneath the overlap. A separate open, bound centre-back slit starts near the knee to give the panels room to move in a seated fit review. This brief uses walking and a static seated rig to assess coverage and clearance.
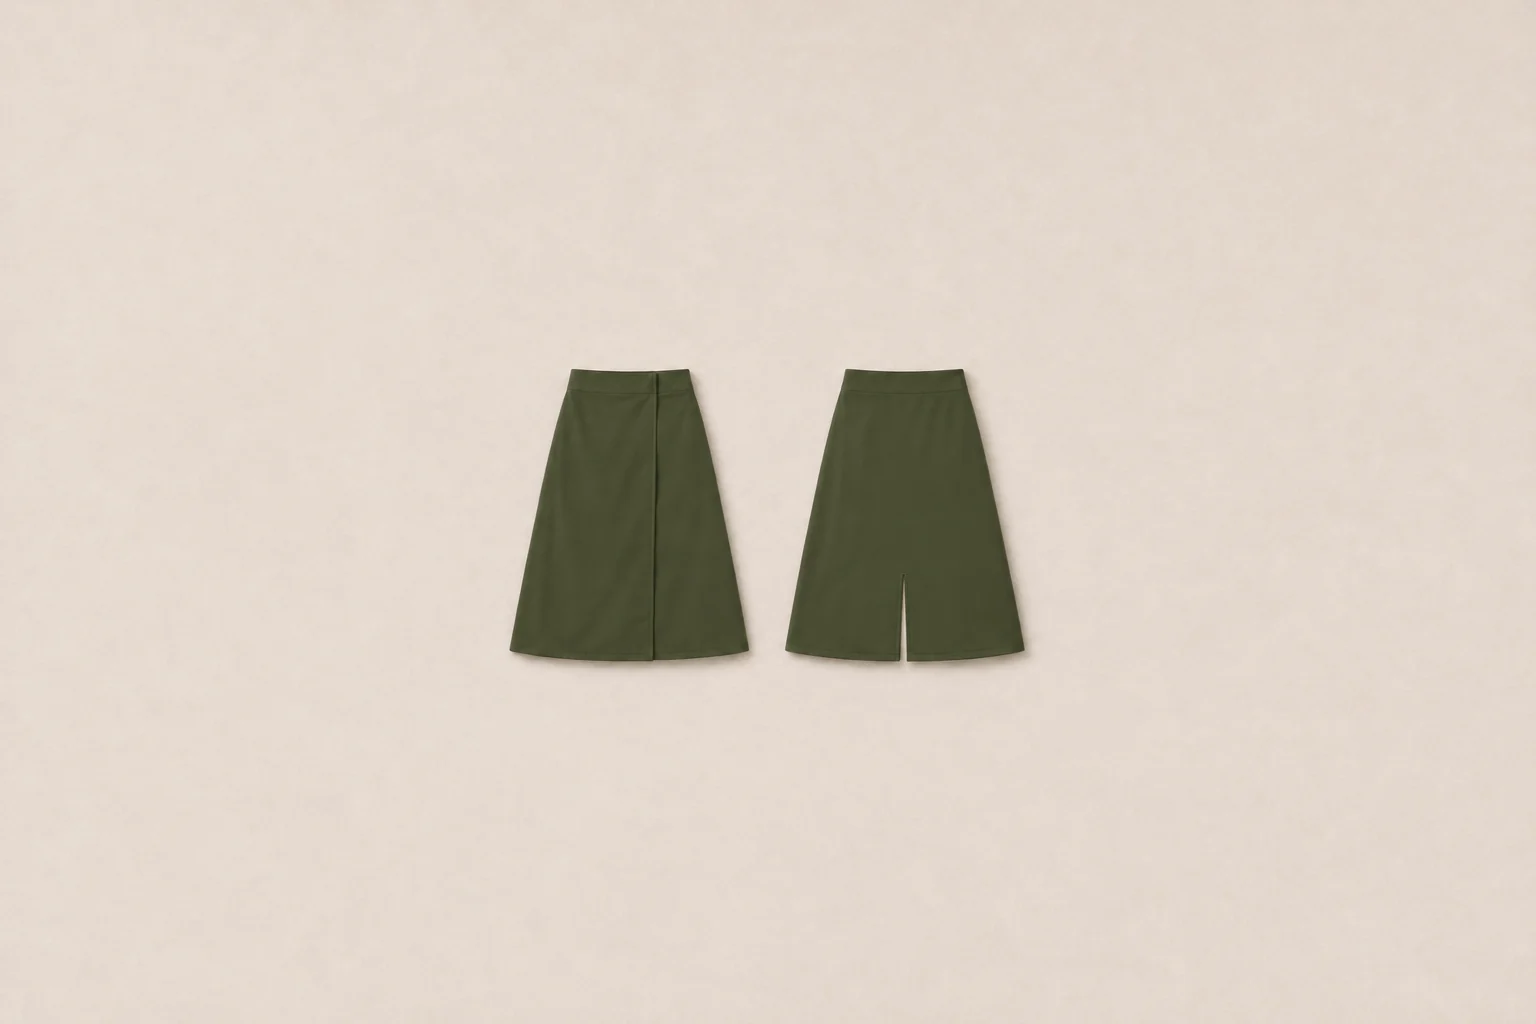
Set the coverage over the trousers
Draw the front overlap and separate centre-back slit on full front and back views. Confirm the waistband level and mid-calf side length on the intended wearer. Use the nominated trousers when judging where the panels fall during walking and on a static seated rig.
Separate the two waist fastenings
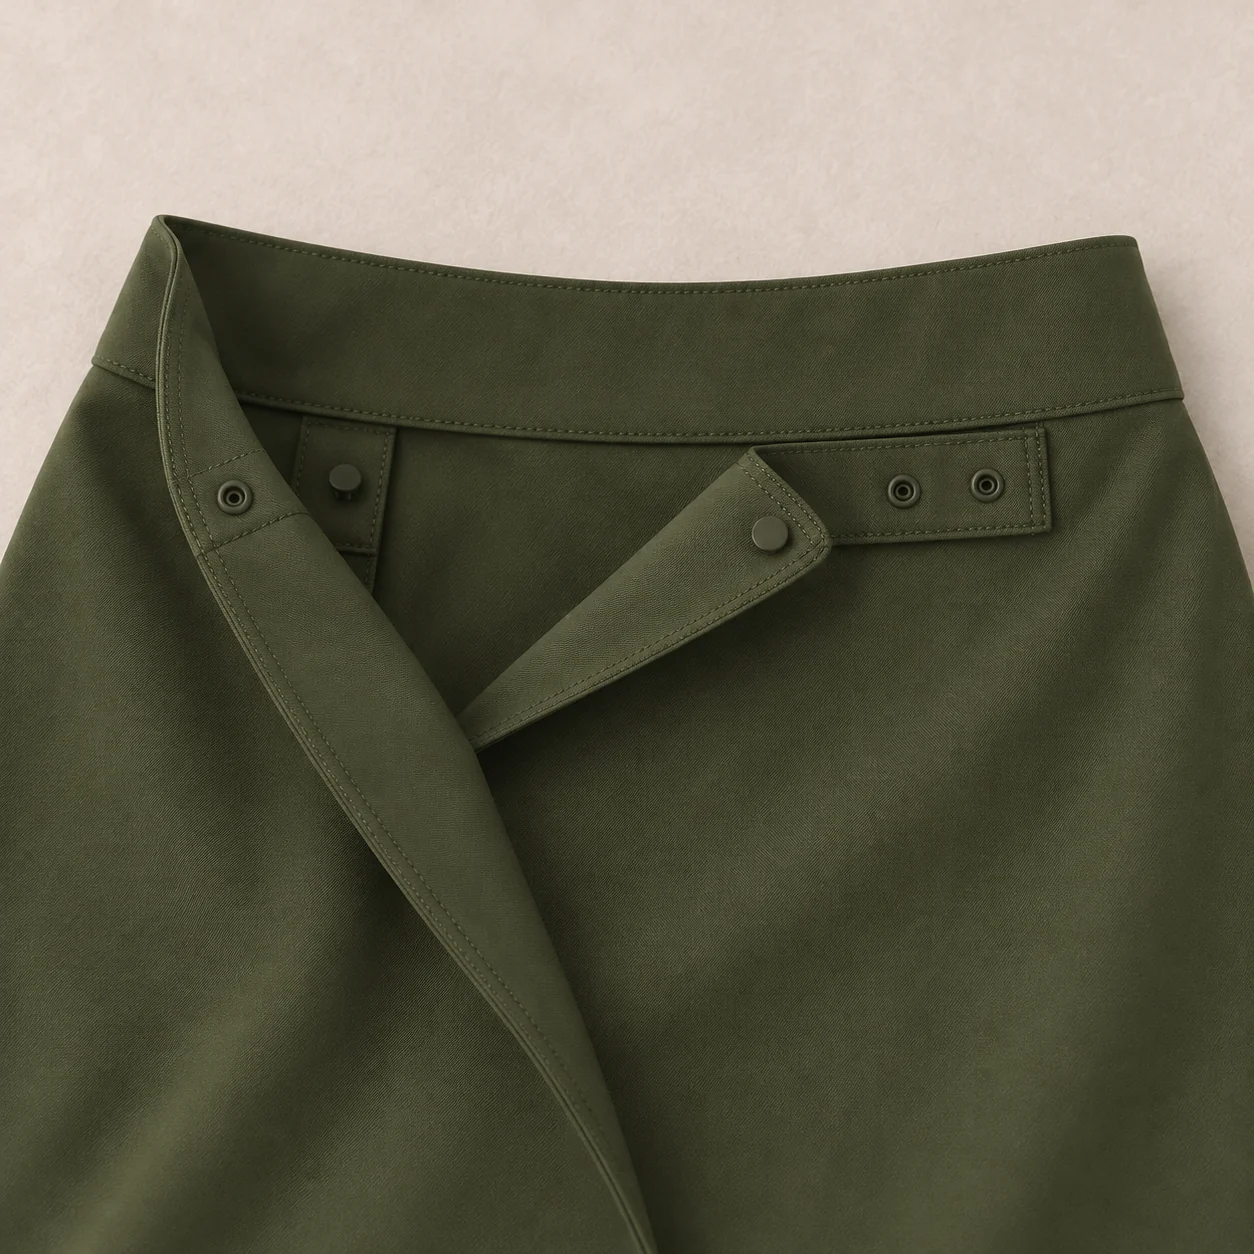
Mark one concealed flat anchor on the inside and one outer adjustment with two fastening positions beneath the wrap. Open the front completely to confirm the entry, then close the inner anchor and each outer setting in turn. Record whether the outer edge lies flat and where the overlap changes.
Finish the open rear slit
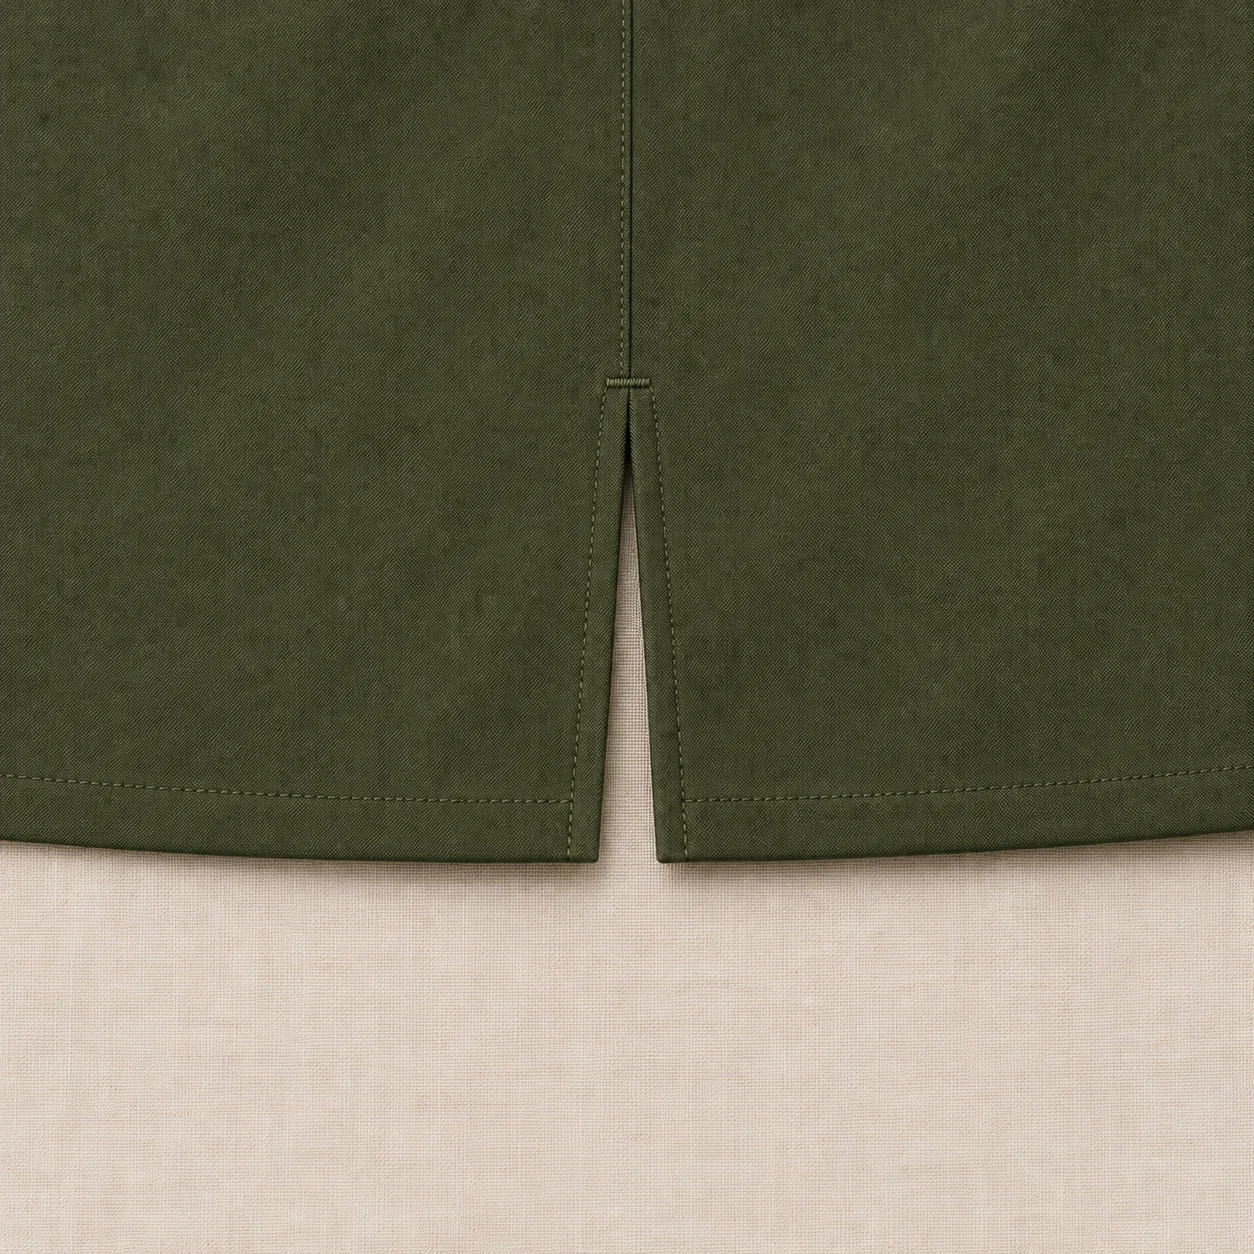
Mark the slit start near knee level on the fitted sample and specify the binding and the junction with the hem. Check how the bound edges hang during walking and on the static seated rig, especially where the rear panels begin to separate.
THE FABRIC
SETS THE FEEL.
Compare material directions against your rider, climate and care expectations. Request the actual fabric specification and evidence for any performance claim.
| Material direction | Why consider it | What to verify |
|---|---|---|
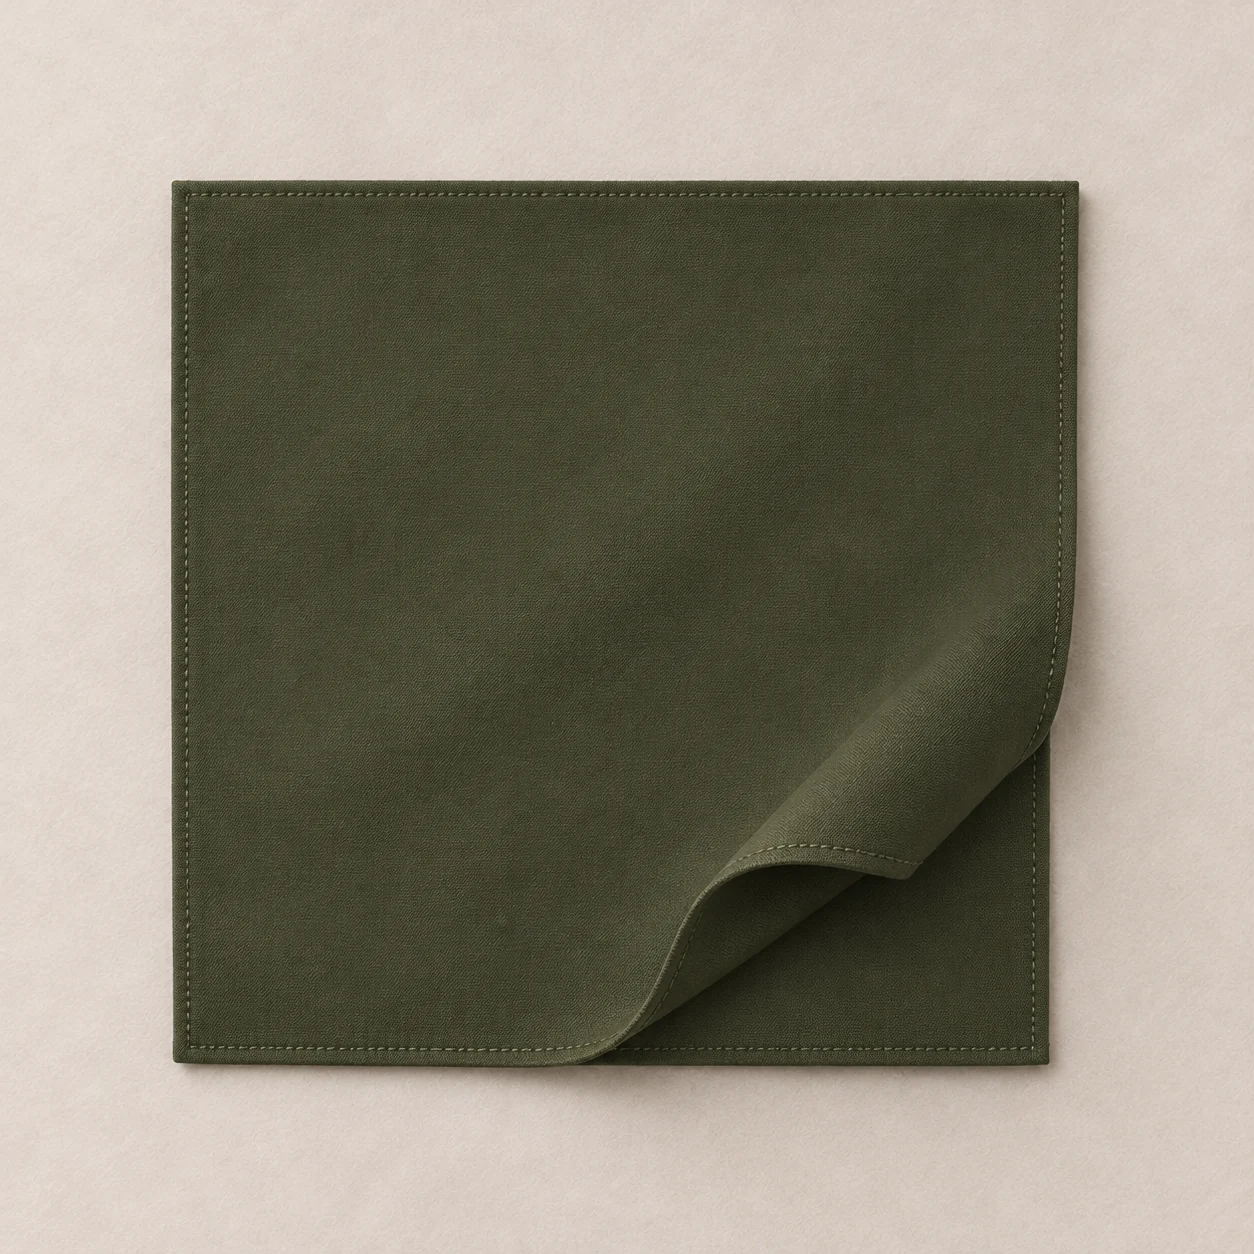
| Matte dark olive shell | The shell sets the drape of the mid-calf panels and how the front overlap settles. A physical swatch shows surface and shade, while a full-length trial reveals how the cut hangs over the trousers. | Request the selected cloth reference, usable width, composition, weight and care proposal. Compare the swatch and sewn panels for drape, edge curl, shade and how the fabric moves against the named underlayer. |
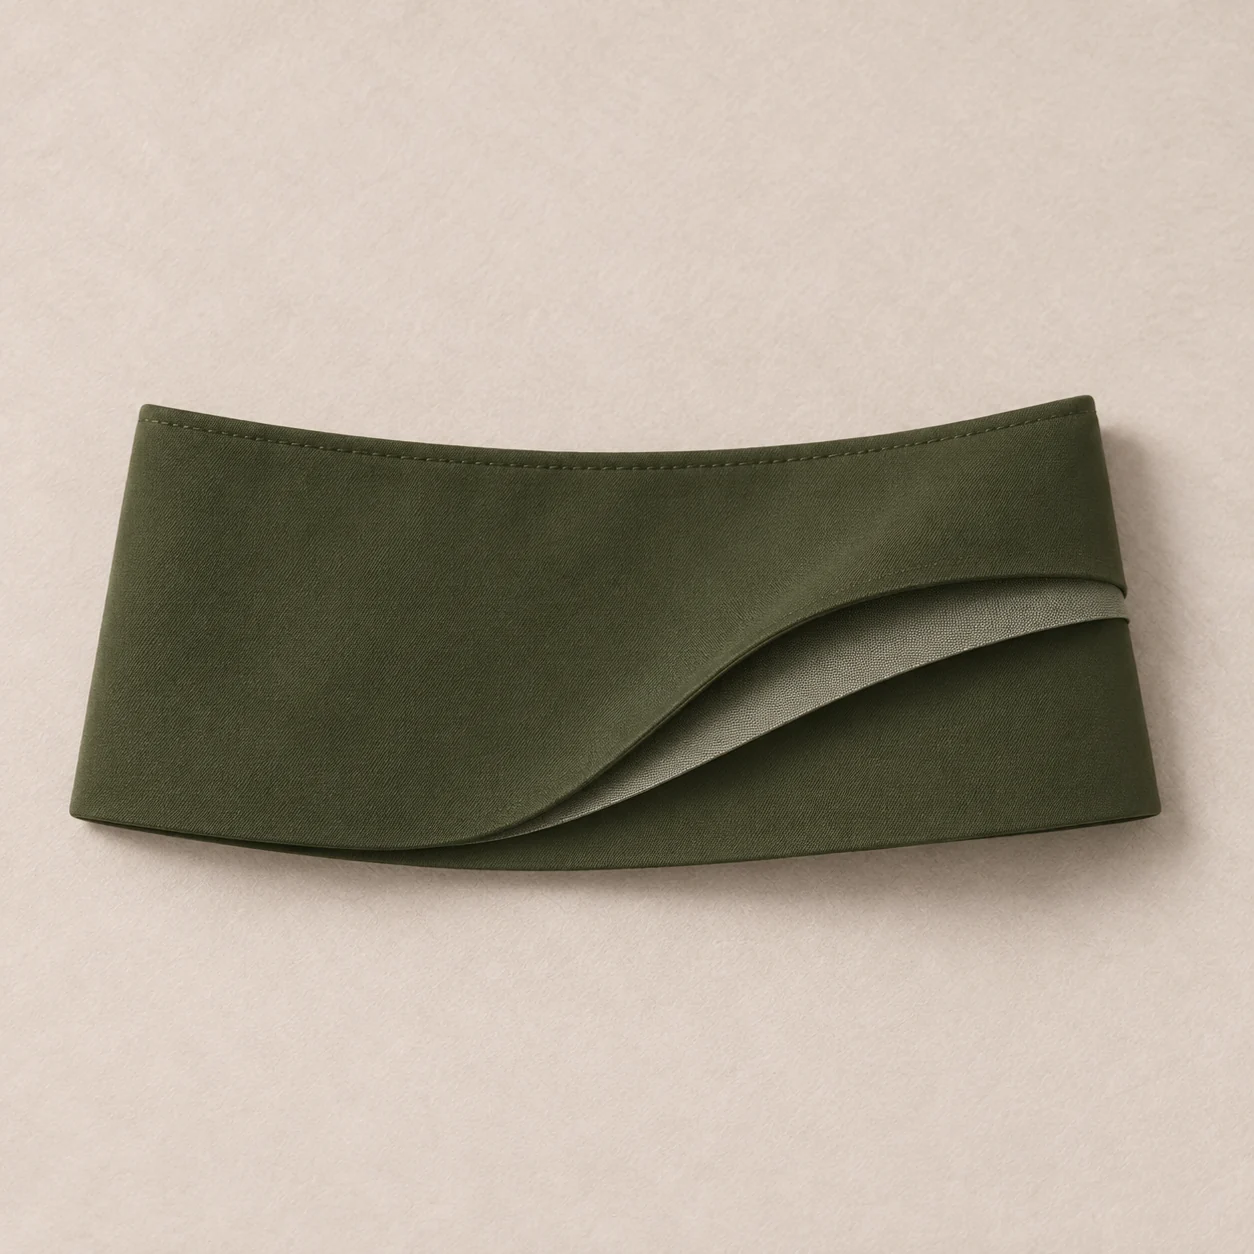
| Waist support and flat fastenings | A support layer can help the wide waistband carry the shell. The support, inner anchor and two-position outer adjustment are reviewed together because each adds thickness beneath the front wrap. | Compare the proposed support in a sewn waistband trial, then check profile and edge roll on the full sample with the nominated trousers. Record the fastening parts and their positions on the inside drawing. |
| Opening-edge binding | The open centre-back slit runs to the finished hem. A separate binding trial helps the buyer and workroom agree the finished edge and the transition at the slit start and hem corners. | Turn over the trial to inspect both faces. On the complete skirt, check that both edges hang freely and compare any stiffness, waviness or twisting before and after agreed care. |
These are sourcing comparisons, not a list of stocked or certified fabrics. Confirm composition, weight, finish, availability and testing with the material selected for your project.
 DEVELOPMENT DETAIL / FRONT OVERLAP AND TWO-POSITION WAIST
IT’S IN
THE DETAILS.
Full wrap entry
Draw the overlapping front edges both open and closed, showing how the shell opens to be put on around the waist over trousers. Use a marked hip-level line for the reference overlap and check the overlap again at the second waist setting.
Waistband and adjustment
Set the finished waistband width and support. Sew in the concealed inner flat anchor and show the two positions of the single outer adjustment beneath the overlap. Check that the support and attachment seams sit smoothly over the named trouser waistband.
Separate centre-back opening
Keep the centre-back slit open from its near-knee start to the hem and bind both edges. Specify the finish at the start of the opening and where each edge meets the hem so both sides can be compared on the sample.
A-line panels and hem balance
Record grain direction and panel sweep, keeping the upper wrap and hem edges identifiable on the pattern. Compare left and right panel hang over the specified trousers. Mark where any panel lifts or folds during walking or the seated fit review before changing the sweep.
FROM THE BRIEF.
INTO THE WORKROOM.
Develop the wide waist, full front wrap and separate bound centre-back slit over the named riding trousers. Use the two outer positions for the overlap review and record coverage during walking and on a static seated rig. The component studies show the proposed shell, waist support and opening edge for the sample brief.
Explore our factory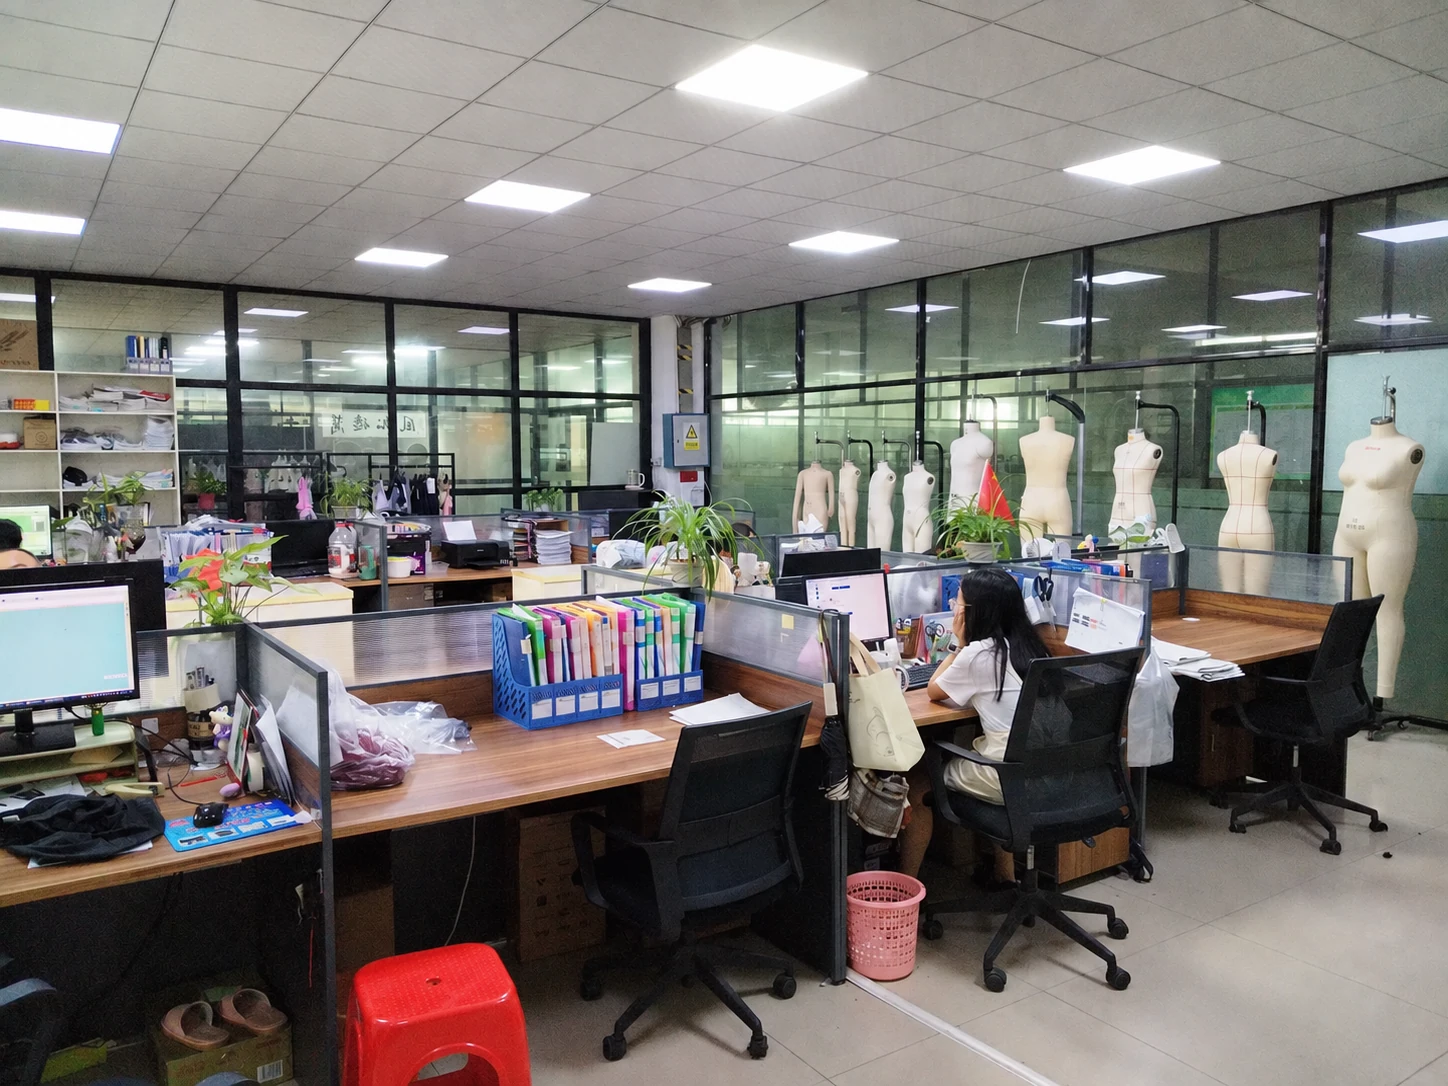
Full wrap entry
Draw the overlapping front edges both open and closed, showing how the shell opens to be put on around the waist over trousers. Use a marked hip-level line for the reference overlap and check the overlap again at the second waist setting.
Carry this into approval Factory views show our working environment. Your garment follows its agreed specification and sample.GET THE
RIGHT FIT.
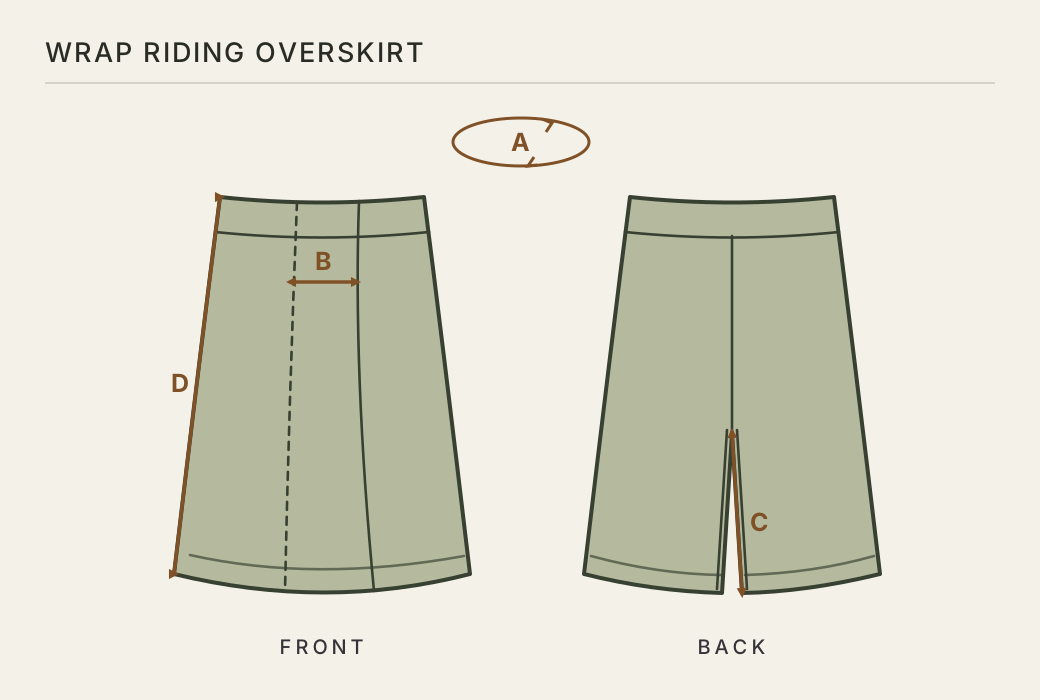
A size label is only the beginning. Agree the measurement method, review the garment in use and keep the approved fit record with your specification.
Your fit-session checklist
Record the size worn, body measurements, intended underlayers and every proposed correction with the dated sample.
Note the size worn, body measurements, intended underlayers and each proposed correction. Recheck the affected measurement after a revision; confirm the size breakdown for each style and colour before bulk.
MAKE IT
RECOGNISABLY YOURS.
Use the product’s construction to guide decoration and finishing. Ask for placement, colour and material approval on the relevant sample.
Small details.
One identity.
Folded edges · fine weave
Textured stock · cord attachment
Raised edge · stitched placement
Material mockups with a live wordmark study. Print, weave, colour matching and placement are confirmed on your physical sample.
Shell shade and trim colour
Approve a matte dark olive swatch together with the thread and opening binding. Compare shades under agreed lighting and record the approved references for any additional colourway.
Two waist settings by size
Set both closure positions against the nominated trousers and waist level. If a setting changes, check the front overlap at the same marked hip line and repeat the movement review for that size.
Side length and panel sweep
Set the finished side length and A-line sweep for the intended size range. Check whether the rear slit start still falls near the knee on the reviewed sizes when grading changes the shell length.
Labels and branding
Place the brand label inside the waistband away from the anchor and outer adjustment. Review label edges and stitching against the trouser waistband and agree care and packaging details with the destination market brief.
APPROVE THE DETAIL.
THEN THE ORDER.
The first sample helps you make decisions. Define review conditions and acceptance criteria before you compare the result.
Review the wrap riding overskirt sample
Sampling takes 7–10 working days from the agreed start. Record each decision against the dated sample before bulk approval.
Rider, material direction, measurements and artwork.
DEFINE THE STARTTurn the agreed direction into a garment to review.
7–10 WORKING DAYSReview fit, finish and changes. Confirm the final specification.
REVISE IF NEEDEDProceed with agreed quantities, colours, labels and packing.
30–45 WORKING DAYSA shared development direction
Bring reference garments, your rider profile, target colours and any artwork. We turn these into the measurements, materials and construction questions that the sample needs to resolve.
Sample feedback can return to development. Revisions and transit are planned separately; timing begins from the agreed specification and start date.

KEEP THE APPROVAL.
WITH THE ORDER.
One agreed reference for the workroom: the dated sample, its specification and your confirmed order breakdown.
Sample decisions
- Open and close the wrap
Release both fastenings and open the front completely. Close the inner anchor, then try each outer position over the specified trousers. Photograph the open waist and both closed settings and record any lifting or bunching.
- Measure coverage at both settings
Record the closed waist and front overlap at the agreed landmarks. Compare the waistband level, front edge position and rear slit start while standing, keeping the wearer and trousers consistent.
- Watch the panels while walking
Walk at the agreed pace and take a longer step on level ground. Note where the front edge lifts, the rear opening spreads or the hem catches on the trousers or boots. Repeat at the second setting and record where a revision is needed.
Style, colour & size allocation
Confirm each style and colour separately, with the size allocation attached. The minimum is 300 pieces per style, per colour.
Labels, packing & timing
Agree label artwork, packing instructions and the production start. Bulk production takes 30–45 working days from the confirmed start; revisions and transit are planned separately.
A CLEARER BRIEF.
A MORE USEFUL QUOTE.
Price follows an agreed product, quantity and delivery scope. Use these inputs to compare proposals on the same basis.
Usable shell width and panel sweep
The length, A-line sweep and front underlap affect how the panels fit on the cloth. Ask for the usable width, layout assumptions and quoted size mix.
Waist support and closure assembly
The wide waistband, support layer, inner anchor and two outer positions affect assembly time and component cost. Check that the quotation includes both fastening locations and the support trial.
Bound slit and hem junctions
Two finished opening edges and their junctions with the hem add handling. Compare quotations using the same binding, reinforcement and finish specification.
Colour allocation and fit reviews
Separate cloth and trim colours affect purchasing quantities. Ask which size samples, walking and seated checks, and revision rounds are included.
Bring these six things
Planning baseline: 300 pieces minimum per style, per colour. Sampling takes 7–10 working days; bulk production takes 30–45 working days from the agreed start.
300 pieces minimum per style, per colour. State each colour quantity separately; confirm your proposed size allocation.
GOOD QUESTIONS.
BETTER DECISIONS.
Product-specific sourcing questions to resolve before sampling.
What should a skirt manufacturer receive for this wrap design?
Send open and closed front drawings, a back view with the slit start marked, the two outer waist positions and the exact trousers for fitting. Agree the measurement line for overlap, the hem level and what the buyer will record during the walking and static seated review.
How do the front and rear openings work?
Release the concealed inner anchor and the outer adjustment to open the front completely. With the front wrapped, the outer adjustment can close at either of its two positions. The centre-back slit is a separate open, bound edge from near the knee to the hem.
What quantity and timing should a brand plan for?
REINFORM's MOQ is 300 pieces per style, per colour. Sampling takes 7–10 working days and bulk production takes 30–45 working days. Confirm start dates against the agreed materials, specification and order details, and allow separately for revisions and shipping.