 REINFORM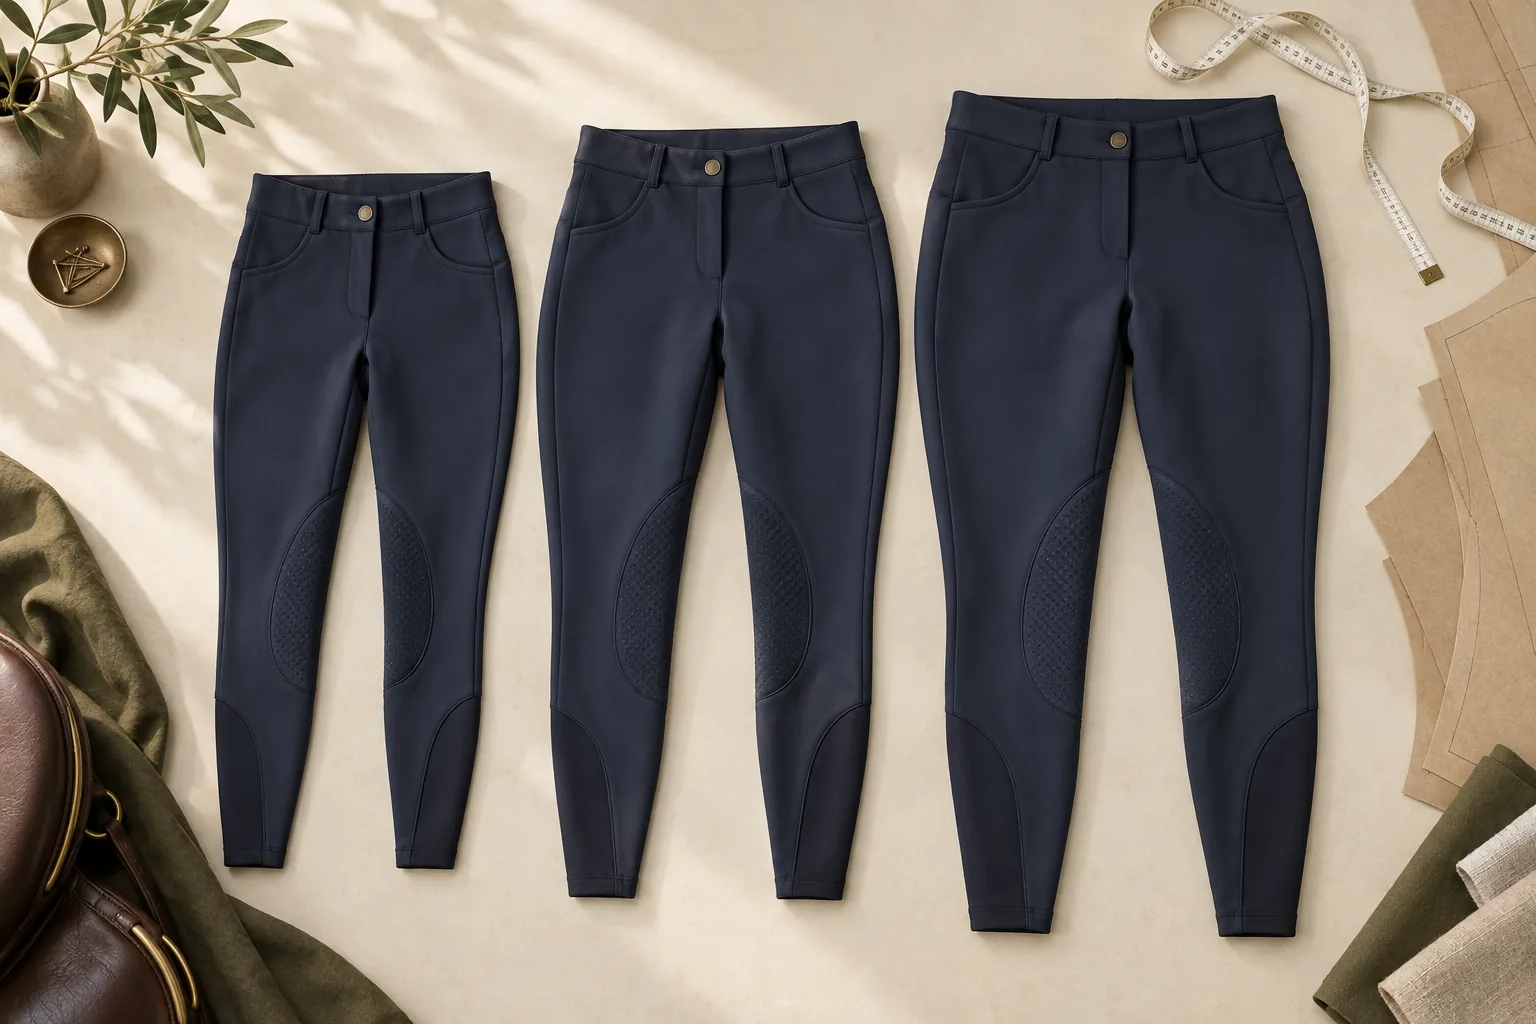
Treat size-set approval as a separate decision
The base size is where design and fit are usually developed. Grading then creates the other pattern sizes by moving pattern points according to defined rules. That process can preserve the approved base pattern and still produce an unsatisfactory small or large size. Waistband proportions may change too quickly, a knee panel can drift away from the knee, or rise and thigh growth can stop matching the intended rider. Size-set approval is the point at which those assumptions become visible.
Keep its scope distinct from a general sample checklist. The question is no longer whether the logo, fabric and construction are broadly correct. It is whether the intended fit relationship survives across the commercial size range. Record the base pattern revision, grade-rule revision, measurement-spec revision, sample sizes, material and sample date before reviewing anything. If those references differ between garments, the set is not a controlled comparison.
Separate body measurements from finished garment POMs
A body chart describes the people a size is intended to cover. A finished garment chart describes the product laid out and measured at defined points of measure, or POMs. They are connected through pattern shape, design ease, stretch and recovery, but they are not interchangeable. ISO 8559-1 provides anthropometric definitions for clothing development, while ISO 8559-2:2025 describes size designation through body dimensions. ISO 8559-3 addresses body measurement tables and intervals and explicitly excludes garment dimensions from its scope.
That distinction is especially important for stretch riding bottoms. A finished riding-tight waist may measure smaller than the corresponding body waist because the design uses negative ease. A structured breech may use a different relationship. Neither result is automatically right: the brand must define the target body, intended compression or ease, and fabric behaviour. Do not copy a body interval into a finished POM chart or assume that a familiar UK or European size label carries one universal set of measurements. BSI's public overview of BS EN 13402-3 notes that several sizing systems remain in use across Europe and presents the standard as a flexible, body-based labelling system.
- Body layer: target population, body landmarks, body dimensions and the interval assigned to each brand size.
- Garment layer: finished POM target for every size, the measurement method and the allowed manufacturing tolerance.
- Fit layer: intended ease or negative ease, silhouette, movement and coverage on the target body.
- Pattern layer: the base pattern and the grade rules used to generate the range.
Lock how every garment measurement is taken
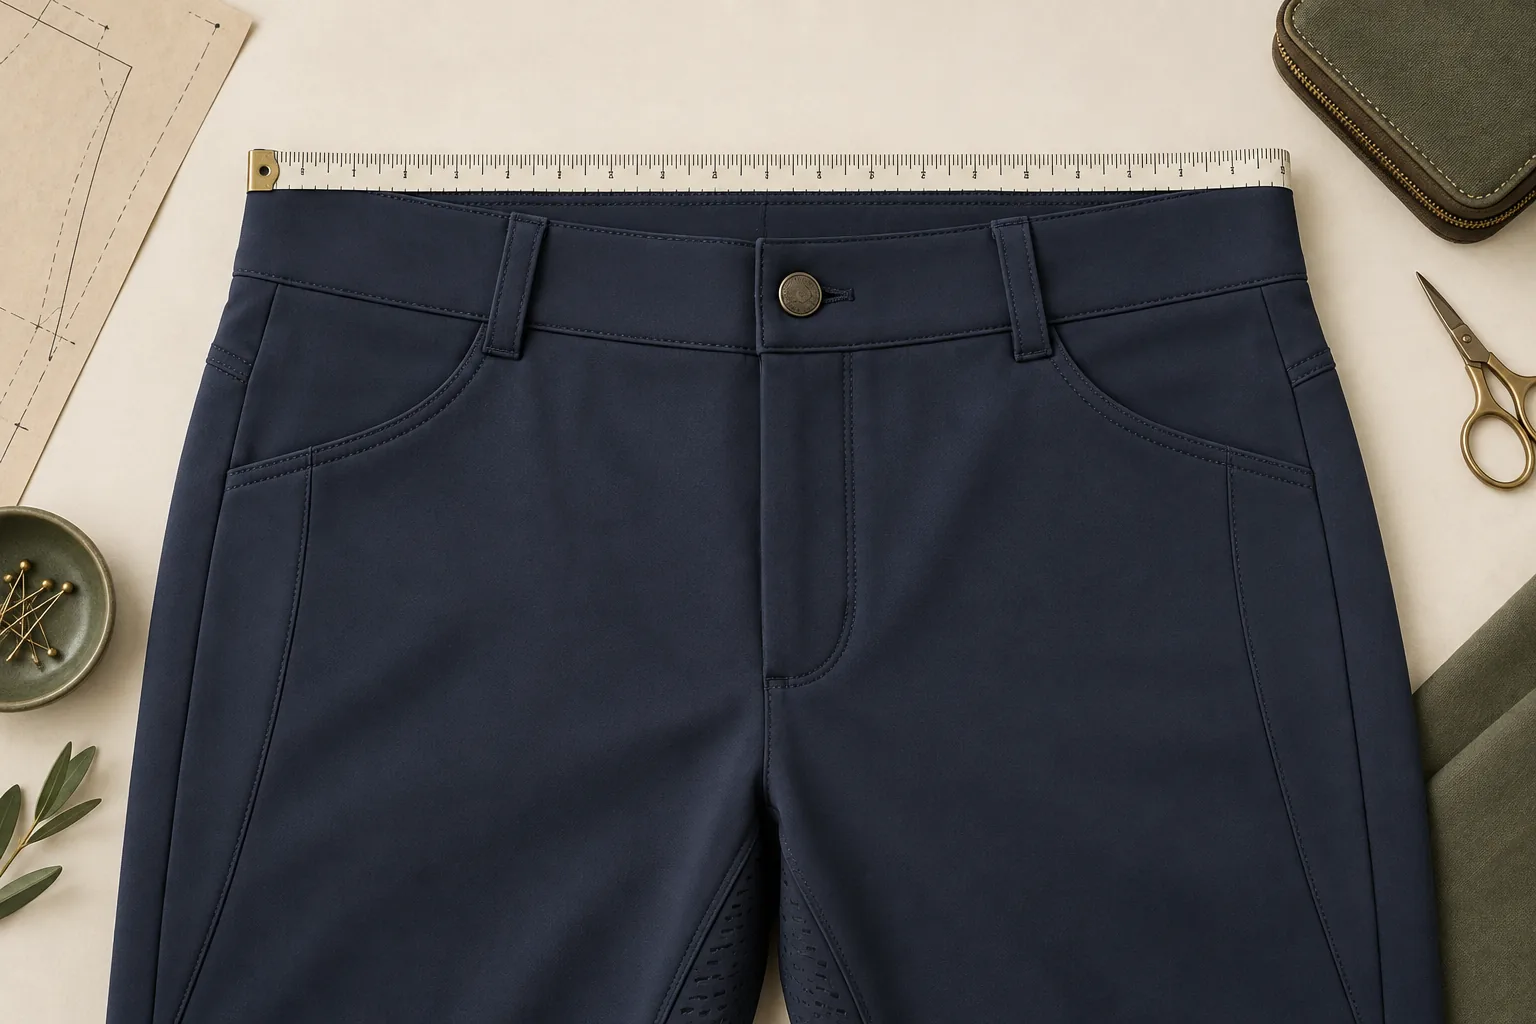
A POM name without a method invites false disagreements. “Waist” could mean the top edge, the seam line or a position below the edge. It could be measured flat and doubled, along the curve, relaxed, lightly extended or fully stretched. “Thigh” needs a stated distance below the crotch reference. Front and back rise need named start and end points and a rule for handling the waistband. Inseam needs a consistent crotch junction and hem point. Add diagrams or annotated photos where words could produce two methods.
Set the measurement state as well. Record whether samples are conditioned, freshly pressed, rested after transit, or measured after an agreed care treatment. ISO 3759's public scope shows why preparation, marking and measurement belong together when dimensional change is assessed after treatment. The article does not turn that standard into a general garment inspection method; the practical lesson is to keep the before-and-after state and procedure reproducible. For high-stretch waistbands, specify resting time and handling so one reviewer does not pull the elastic while another leaves it relaxed.
Use the same units, equipment and rounding rule throughout the set. Measure each garment before fitting, then retain the actual values. A fit comment such as “large waist” becomes actionable when it sits beside the target, tolerance, actual measurement, wearer body measurement and wear observation.
Audit the grade rule before requesting samples
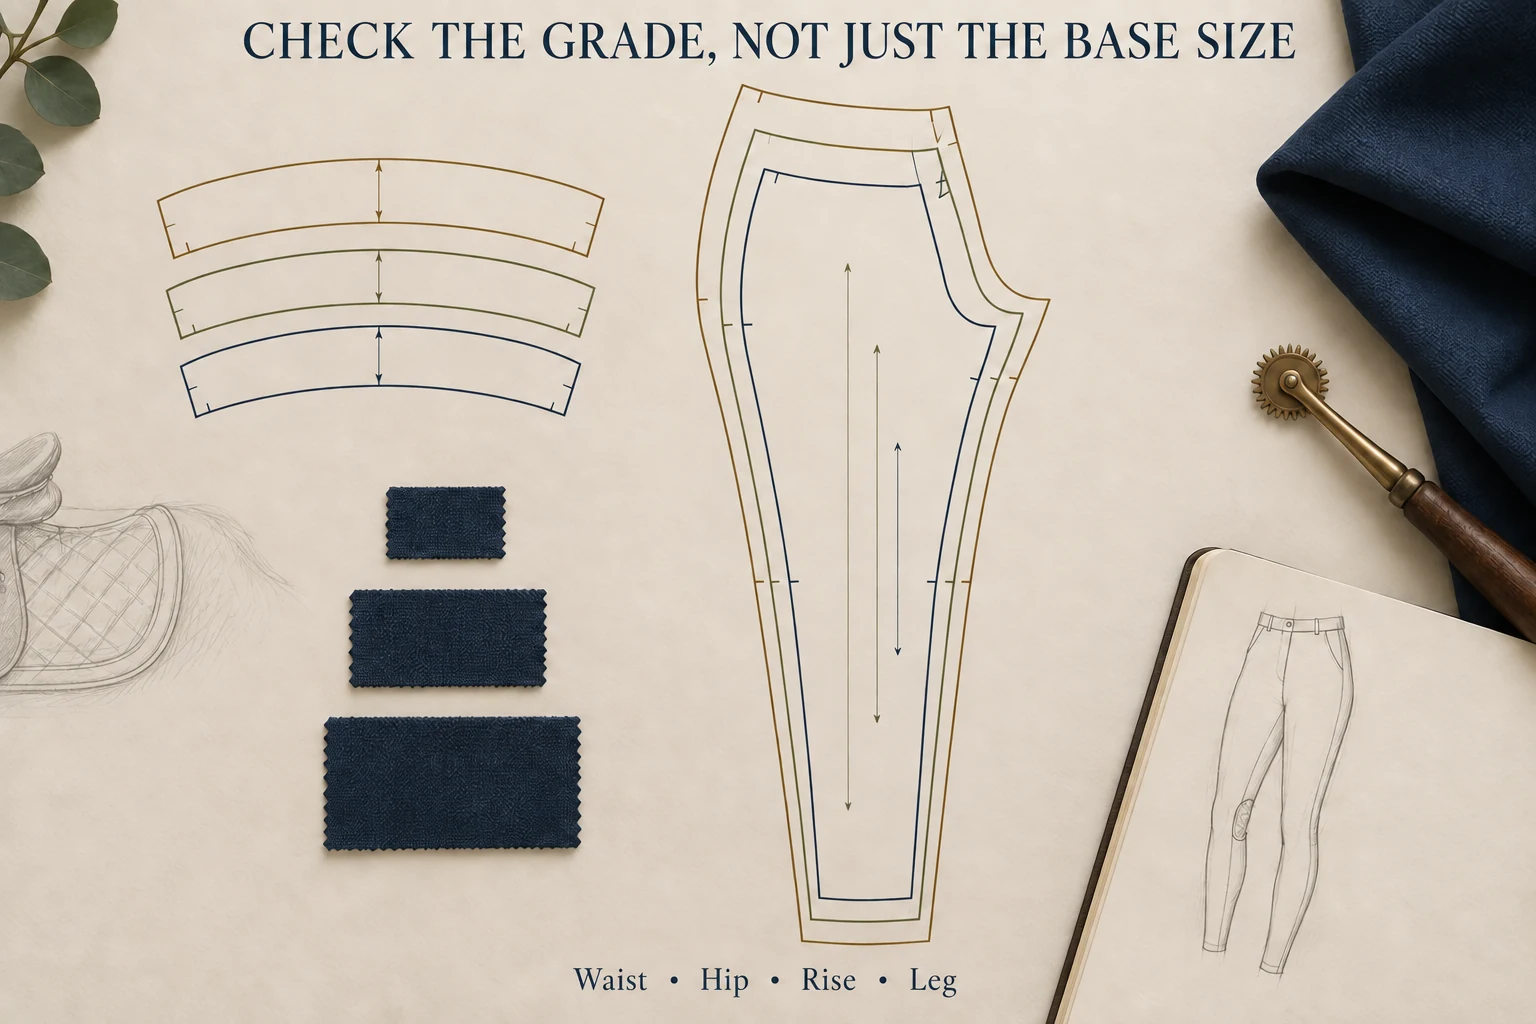
A finished measurement chart shows the intended outcome. The grade rule shows how the pattern is meant to reach it. Review both before fabric is cut. Browzwear's grading guidance describes grading as creating other pattern sizes from a base garment and calls out notches, corners and matching segment lengths as points needing attention. For breeches, the buyer should also examine waistband sections, fly or zip components, pocket openings, yokes, gussets, knee patches or full-seat panels, lower-leg inserts and seam junctions.
Calculate the change between adjacent sizes for each critical POM rather than reading only the absolute figures. The interval does not have to be identical at every POM or across every part of the range, but any change in logic should be deliberate. A larger hip interval above one size, for example, may reflect the brand's body data or block strategy; it needs a documented reason and a corresponding pattern rule, not an unexplained jump in the spec.
Choose samples that expose the riskiest assumptions
Sampling every offered size gives the most direct evidence, but a brand may choose selected sizes when time, cost or material is constrained. There is no universal three-size formula. Select the set from the actual range, the grade-rule structure and the fit risk. A sensible request often includes the approved base, a smaller or smallest commercial size, a larger or largest commercial size, and any size where an interval, block or construction rule changes.
Risk can sit somewhere other than the endpoint. Youth-to-adult transitions, regular-to-extended sizing, a change in waistband elastic width, or a pocket bag that no longer fits the graded panel can make a middle size the revealing sample. A full-seat grip shape may scale acceptably at the extremes yet cross a seam badly at the transition where the rule changes. Put these reasons on the sample request so the supplier understands why each size was chosen.
- Include each fit family separately; do not use a women's sample to approve men's, youth or unisex grading.
- Include each length block that changes pattern proportion, such as short, regular or tall, if offered.
- Use the intended fabric and waistband construction wherever stretch, recovery or thickness affects fit.
- If a substitute material is unavoidable, identify what the sample can and cannot approve, then schedule confirmation in production-intent material.
Measure first, then judge fit
Start with a measurement audit because it tells the fit team what garment they are actually reviewing. Mark each critical POM as within tolerance, outside tolerance or not measurable by the agreed method. Tolerance is the permitted manufacturing variation around a target; it is not extra design ease and it does not rewrite the grade. A sample that lands at the positive edge in one size and the negative edge in the next may technically pass both tolerances while creating an unintended change between sizes. Review continuity as well as individual pass or fail.
Do not adopt one tolerance for every POM or copy an alleged industry allowance. Set tolerances by the measurement's functional importance, construction, material, repeatability and inspection method, then agree them with the manufacturer. A small change at the waistband, rise or knee position can matter more to riding fit than the same numerical change at a less critical detail. Very tight limits that cannot be measured or produced consistently create disputes rather than control.
If an out-of-tolerance sample fits well, do not approve the deviation silently. Decide whether the garment should be corrected to the target or whether fit evidence justifies changing the target, pattern and graded chart. If the specification changes, issue a new revision and reassess affected sizes. The objective is agreement between the approved fit and the production instruction.
Review standing fit and riding function by size
Fit each sample on a person or representative form that matches the brand's intended body measurements for that size. Record the model's relevant waist, high hip, hip, thigh and stature or inseam data using the same body definitions chosen for the size system. A label match alone is weak evidence. If the available fit model sits between sizes, record that fact and avoid turning the result into approval for the nominal body.
Review the garment standing before moving to riding positions. Check waistband level and gaping, front and back rise balance, drag lines, crotch depth, hip and thigh distribution, knee position, lower-leg opening, hem and pocket behaviour. Compare the same views across all samples. Photos should use consistent front, back and side angles and identify the garment size, model measurements and revision.
Then review the intended motion: seated hip and knee flexion, mounting range, squat or step-up, rein posture and normal walking. Use a saddle or a controlled riding-position setup where practical. Look for the waistband rolling or pulling down, back rise exposure, front-rise pressure, knee seams or patches missing the bent knee, grip panels restricting stretch, pocket contents pressing the rider, and hems or calf panels twisting. A pass while standing does not cancel a repeatable mounted problem, and a mounted observation should identify the position that produces it.
Read the pattern in the differences
The same symptom can come from the body chart, garment target, grade, material, sample make or measurement method. Treat the patterns below as investigation prompts, not automatic verdicts. Confirm findings against the pattern, actual measurements and repeated wear observations before assigning a correction.
- One similar deviation across every sampled size: check the POM method, shared construction, base pattern and target specification before editing separate grade steps.
- Deviation grows farther from the base size: inspect the cumulative grade rule and any size-dependent material or construction effect.
- One size or one side differs: remeasure, then inspect cutting, sewing, pressing, symmetry and sample identification before changing the whole grade.
- Measurements pass but fit repeatedly fails: question the target body, ease relationship, shape and whether the chosen POMs describe the problem; tolerance cannot solve a design mismatch.
- Standing fit passes but riding fit fails: investigate pattern balance, rise, articulation, seam or panel position and stretch distribution in the active posture.
- Failure appears after care: keep it separate from ordinary make tolerance and investigate material, fusing, elastic, finishing and the agreed care process.
- Grip, pocket or logo looks wrong only in some sizes: specify a fixed, stepped or proportional placement rule rather than scaling it by habit.
Assign every correction to an owner and a controlled file: body chart, finished spec, pattern or grade rule, construction method, material approval, artwork placement or measurement guide. “Factory to improve fit” is not a usable instruction. State the size, location, observed problem, required change, responsible party, revision and evidence needed for closure.
Use one worksheet to make the approval auditable
Build one worksheet with a row for every sampled size and critical issue. Link it to the measurement sheet rather than duplicating uncontrolled figures in email. This format lets a UK or European product team compare evidence, approve unaffected sizes and hold specific corrections without losing the range-level decision.
- Header: style and colour, size range, fit family, length block, base size, sample round, date and reviewers.
- Controlled references: body chart revision, finished POM chart revision, measurement-guide revision, base pattern and grade-rule revision, material and care state.
- Per sample: labelled size, wearer body measurements, garment actuals, tolerance result, standing observations, riding-position observations and photos.
- Issue record: issue ID, affected sizes and POMs, likely source to investigate, required correction, owner and due date.
- Retest instruction: remeasure only, refit named sizes, remake the whole selected set, review after care, or confirm in a production-intent sample.
- Decision: approved, approved for a stated purpose with open conditions, or not approved for bulk; include approver, date and the exact file revisions covered.
Close conditions explicitly. If a change affects a shared grade rule, neighbouring sizes or a functional component, name the sizes that must be remade or rechecked. A photo approval may close a simple label correction, while a revised rise or waistband grade normally needs physical measurement and fit evidence. Preserve the final worksheet, approved samples or sealed references, measurement records and superseded revisions according to the brand's document policy.
Define the fabric test evidence that supports your fit approval.
These references cover supplier processes, textile testing and market-specific labelling. They do not certify REINFORM or set the terms of your order. Confirm the product specification, destination requirements and quotation with your team.
Start with the size range you need to approve.
Share your target size range, fit family, body chart and existing measurement specification, if available. Flag unresolved grading or riding-fit questions in the project brief.
Send your development brief