 REINFORM
Ventilation Without Weak Points
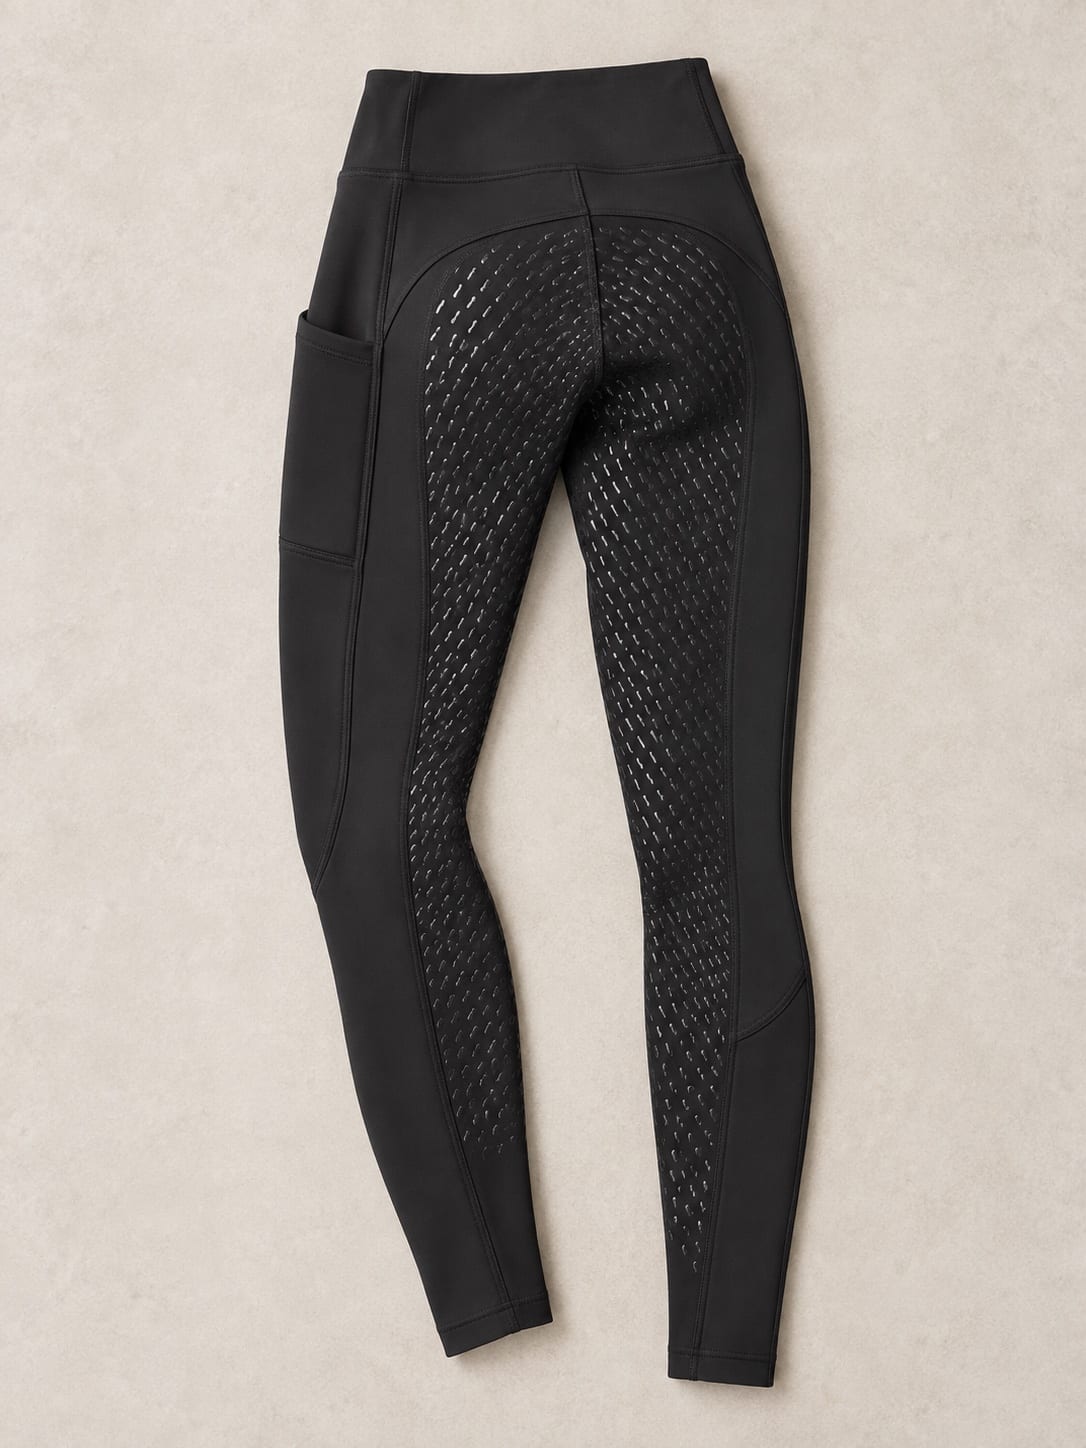
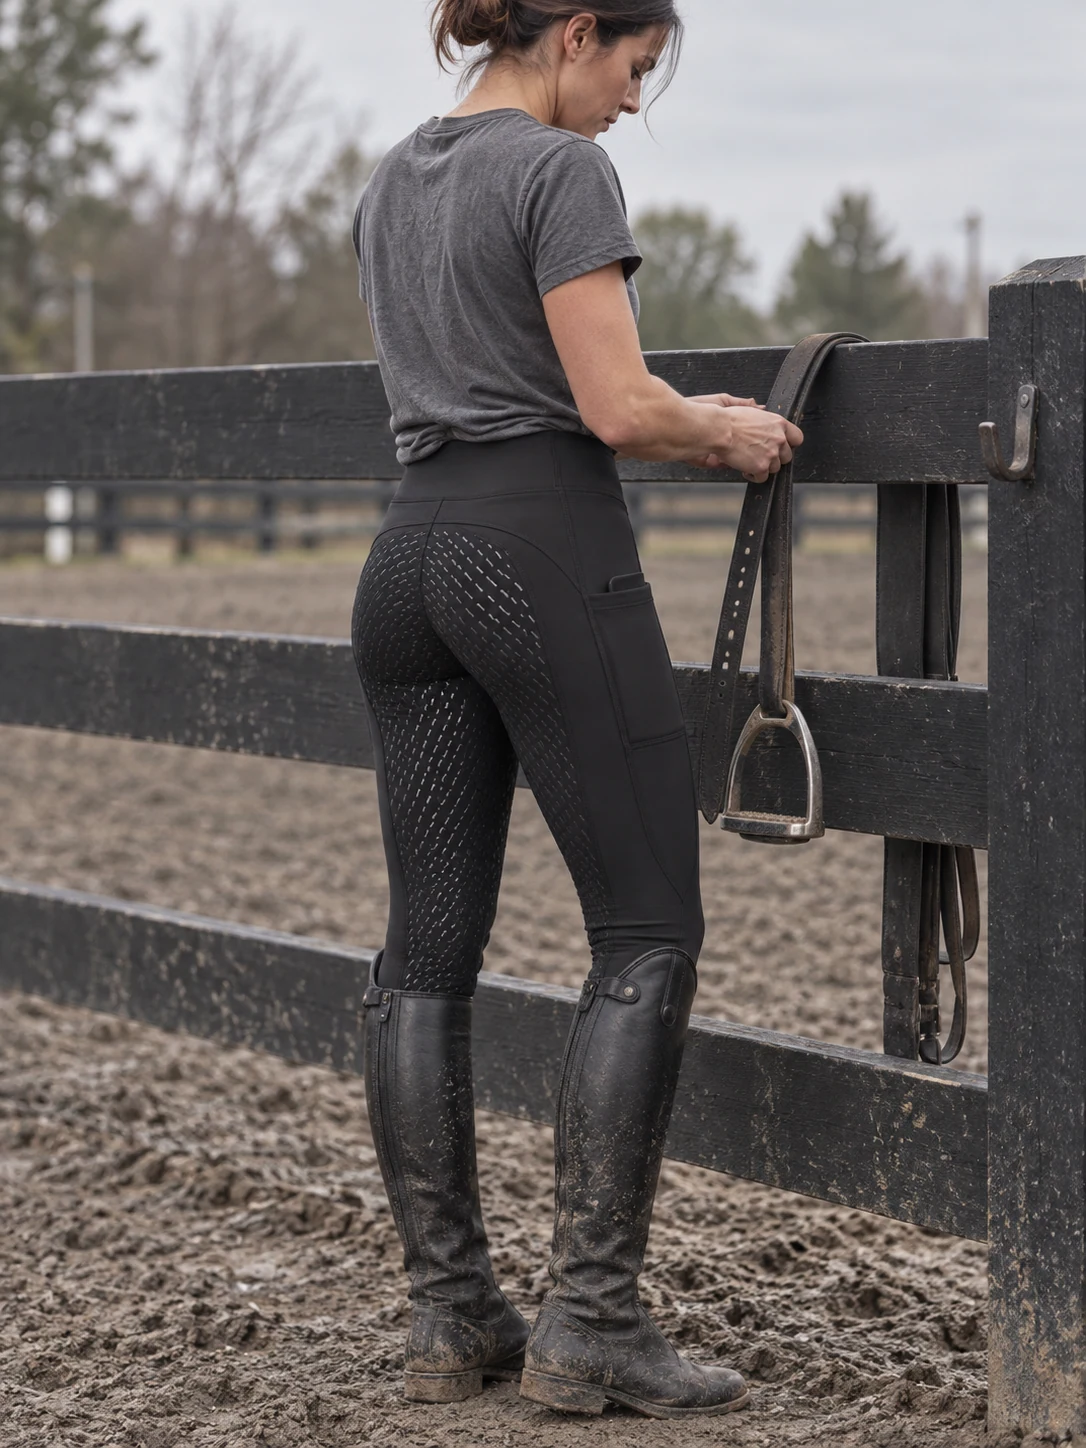
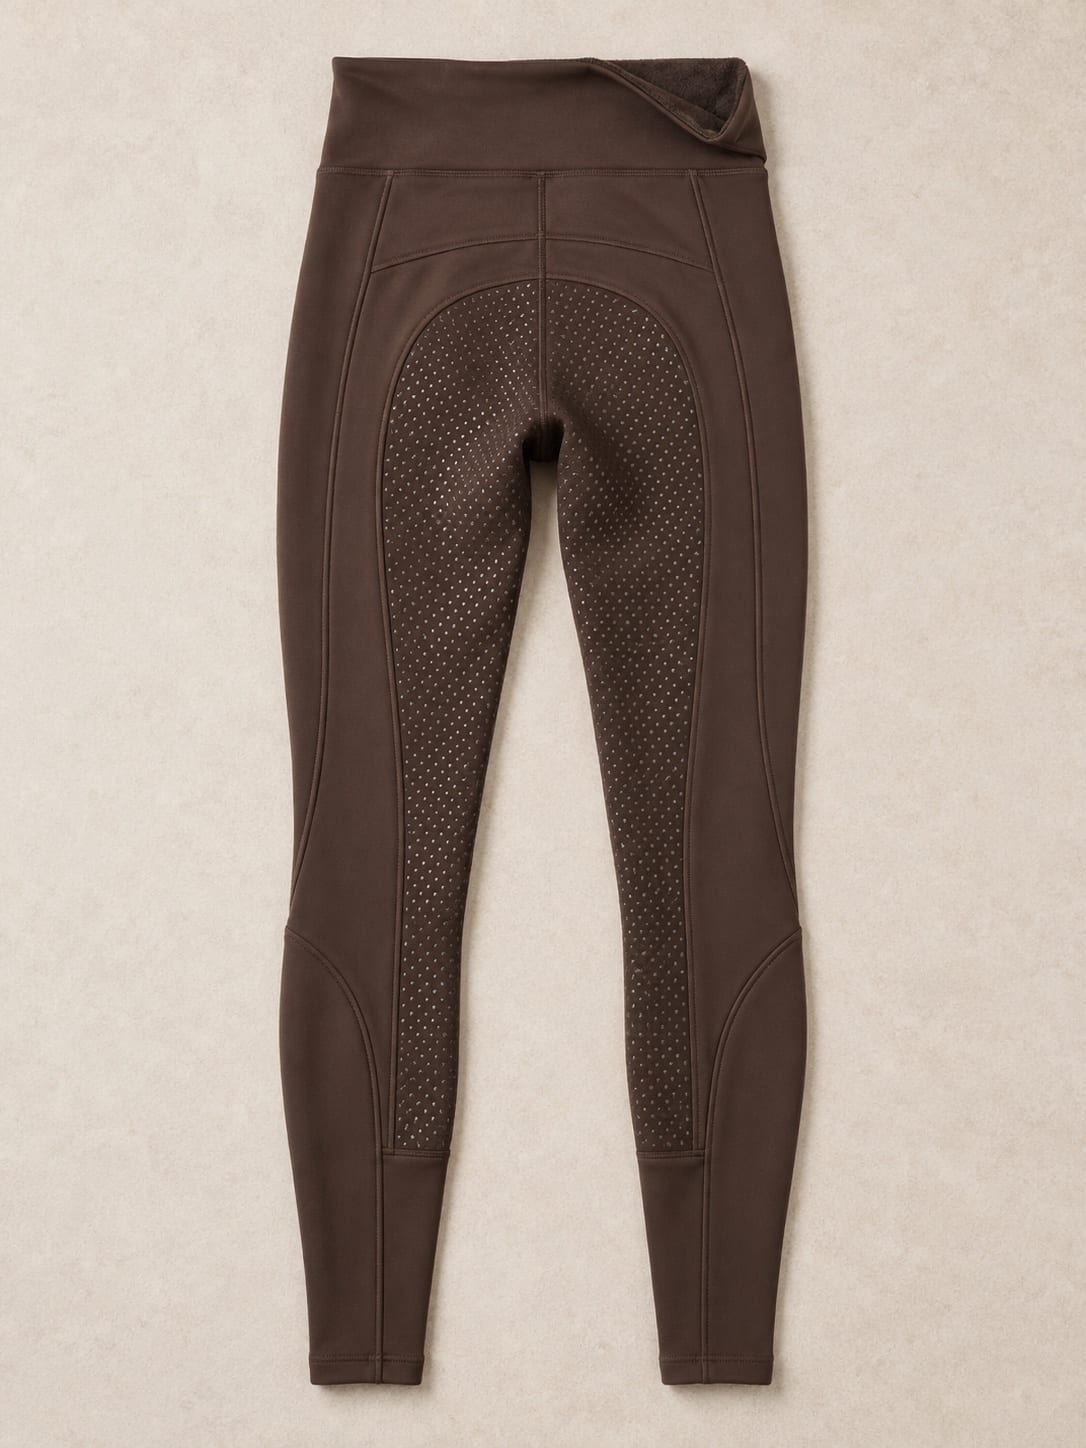
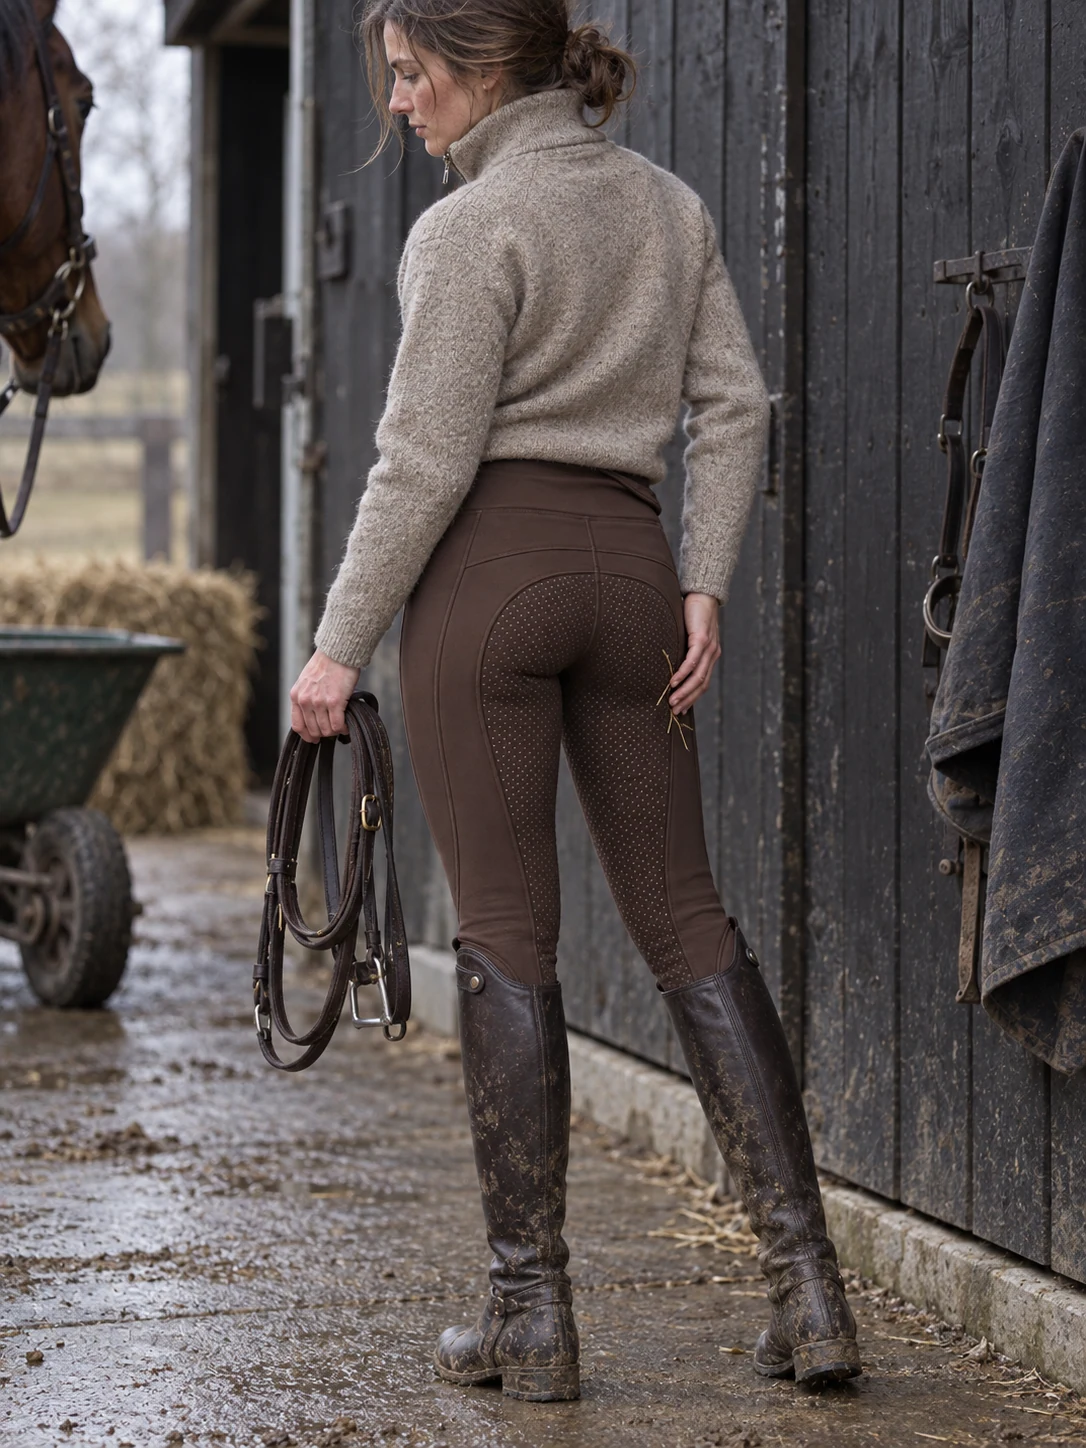
Summer mesh riding tights:
the private label buying guide.
Private label summer mesh riding tights for equestrian brands: ventilation panels, secure coverage, seams and bulk fabric approval. Request an OEM quote.
A development direction for your brand. Final material, construction and performance by specification and sample approval.START WITH
THE RIDER.
For warm-climate riding brands, summer capsule collections, lesson programmes and retailers whose customers prioritize light hand, airflow and practical storage during schooling.
Product development context
Summer tights should be designed around heat and sweat without exposing skin, underwear or weak seams in the saddle. Mesh can improve local airflow, yet a panel in the wrong place may rub under the boot, stretch differently from the shell or become transparent when bent. Begin by mapping high-heat zones against saddle, thigh and tall-boot contact. Then specify main fabric coverage, mesh openness, seam type, grip level and phone storage. Any cooling, wicking, quick-dry or sun claim must be tied to agreed evidence for the actual materials and garment.
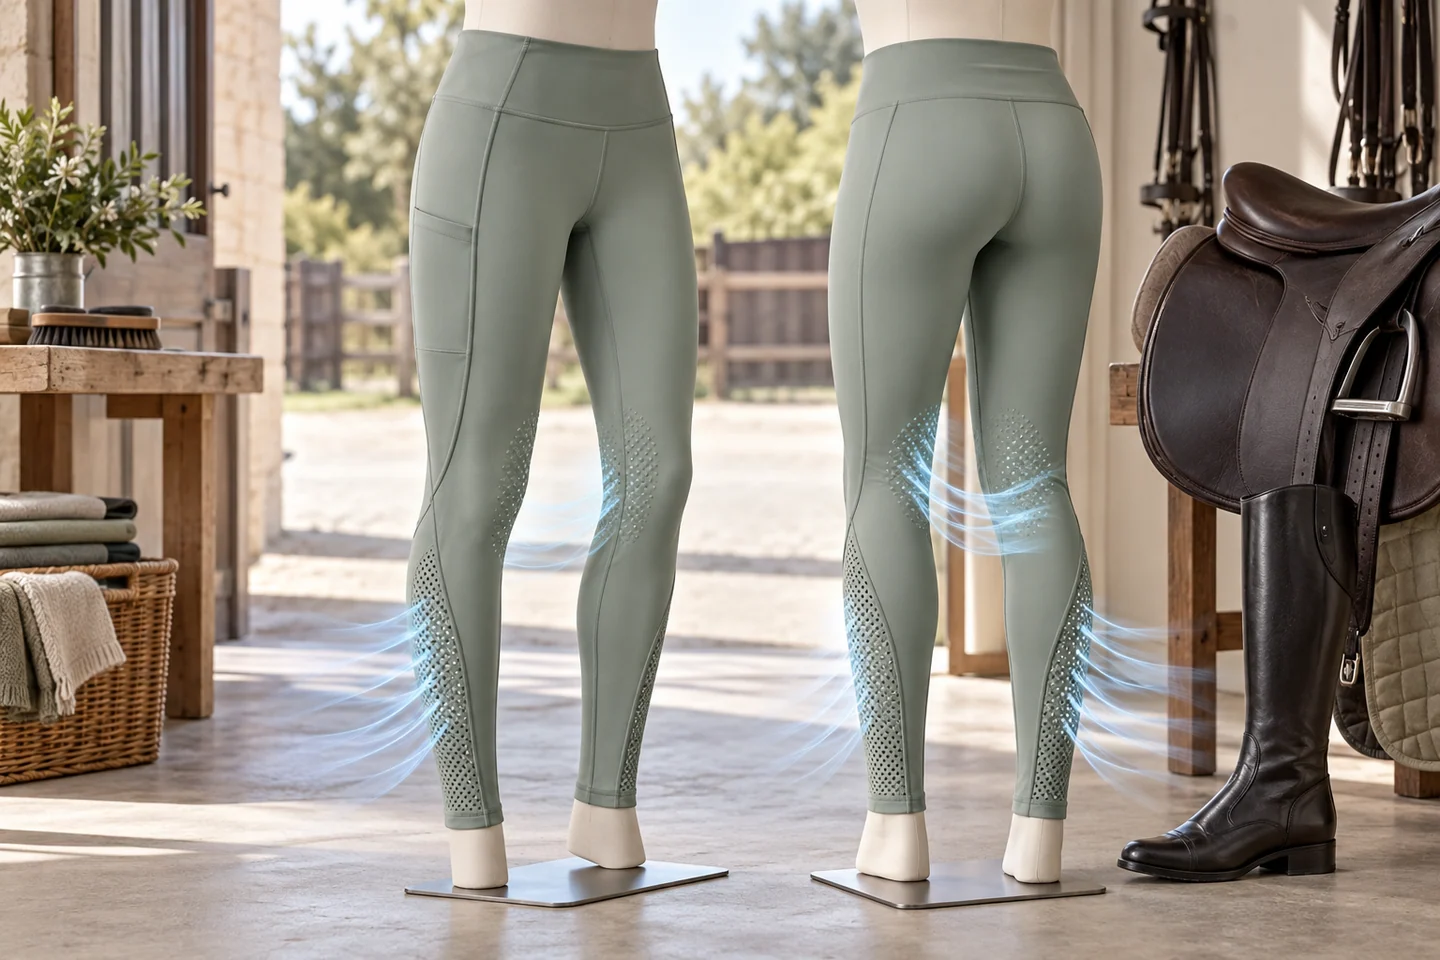
Ventilation map
Place mesh behind the knee, at lower side leg or another low-friction zone only after reviewing saddle and boot contact. Avoid high-tension seat areas unless the mesh is specifically validated for coverage, recovery and seam strength.
Wet-state behaviour
Sweat can change colour depth, cling, opacity and seam feel. Compare dry and damp samples, especially pale colours and contrast panels, and verify that pocket bags and labels do not become conspicuous when the garment is wet.
Lightweight stability
Reducing fabric weight can increase show-through, bagging and pocket bounce. Set performance priorities in order and test the complete construction, because a light swatch that feels appealing may not support grip print, storage or repeated saddle abrasion.
THE FABRIC
SETS THE FEEL.
Compare material directions against your rider, climate and care expectations. Request the actual fabric specification and evidence for any performance claim.
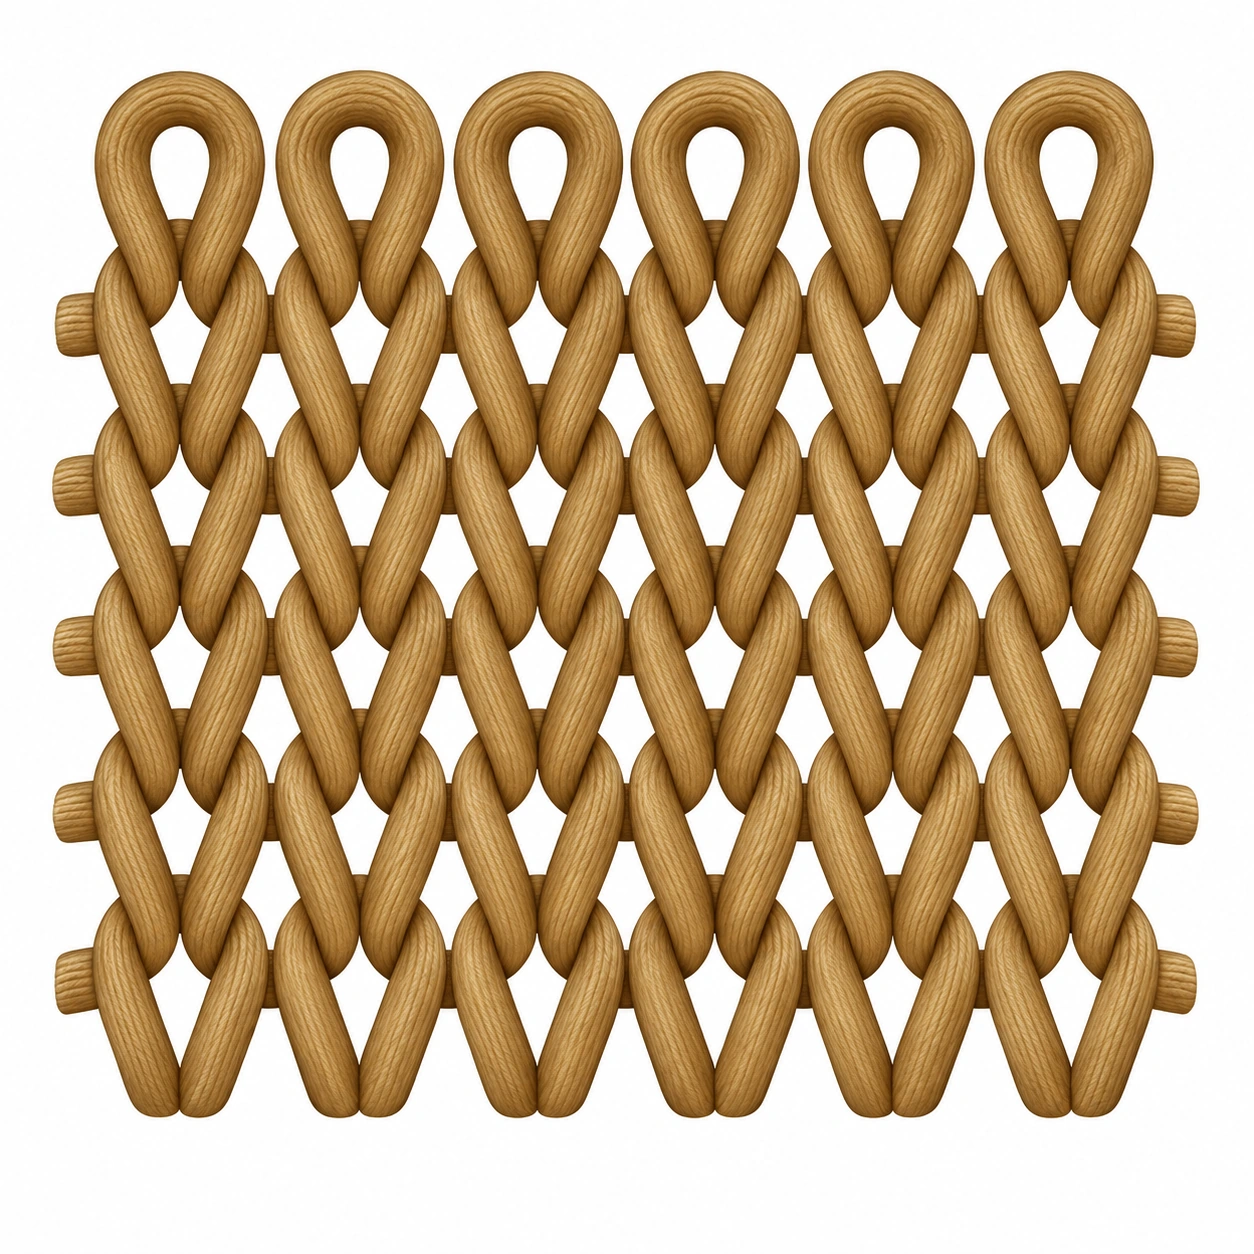
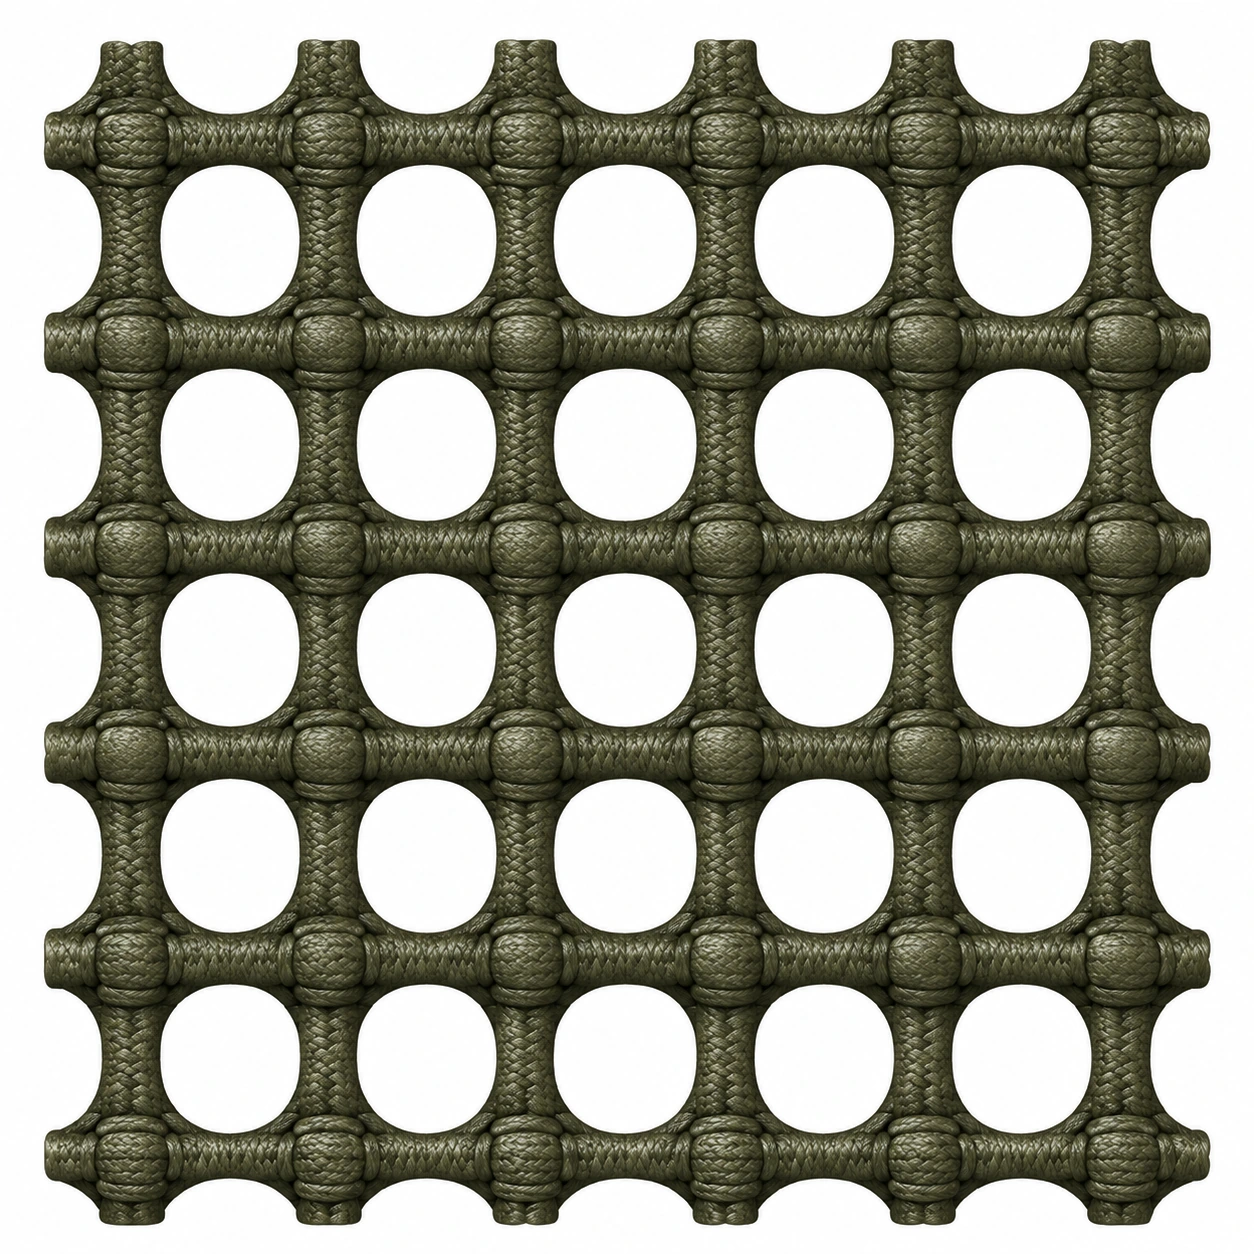
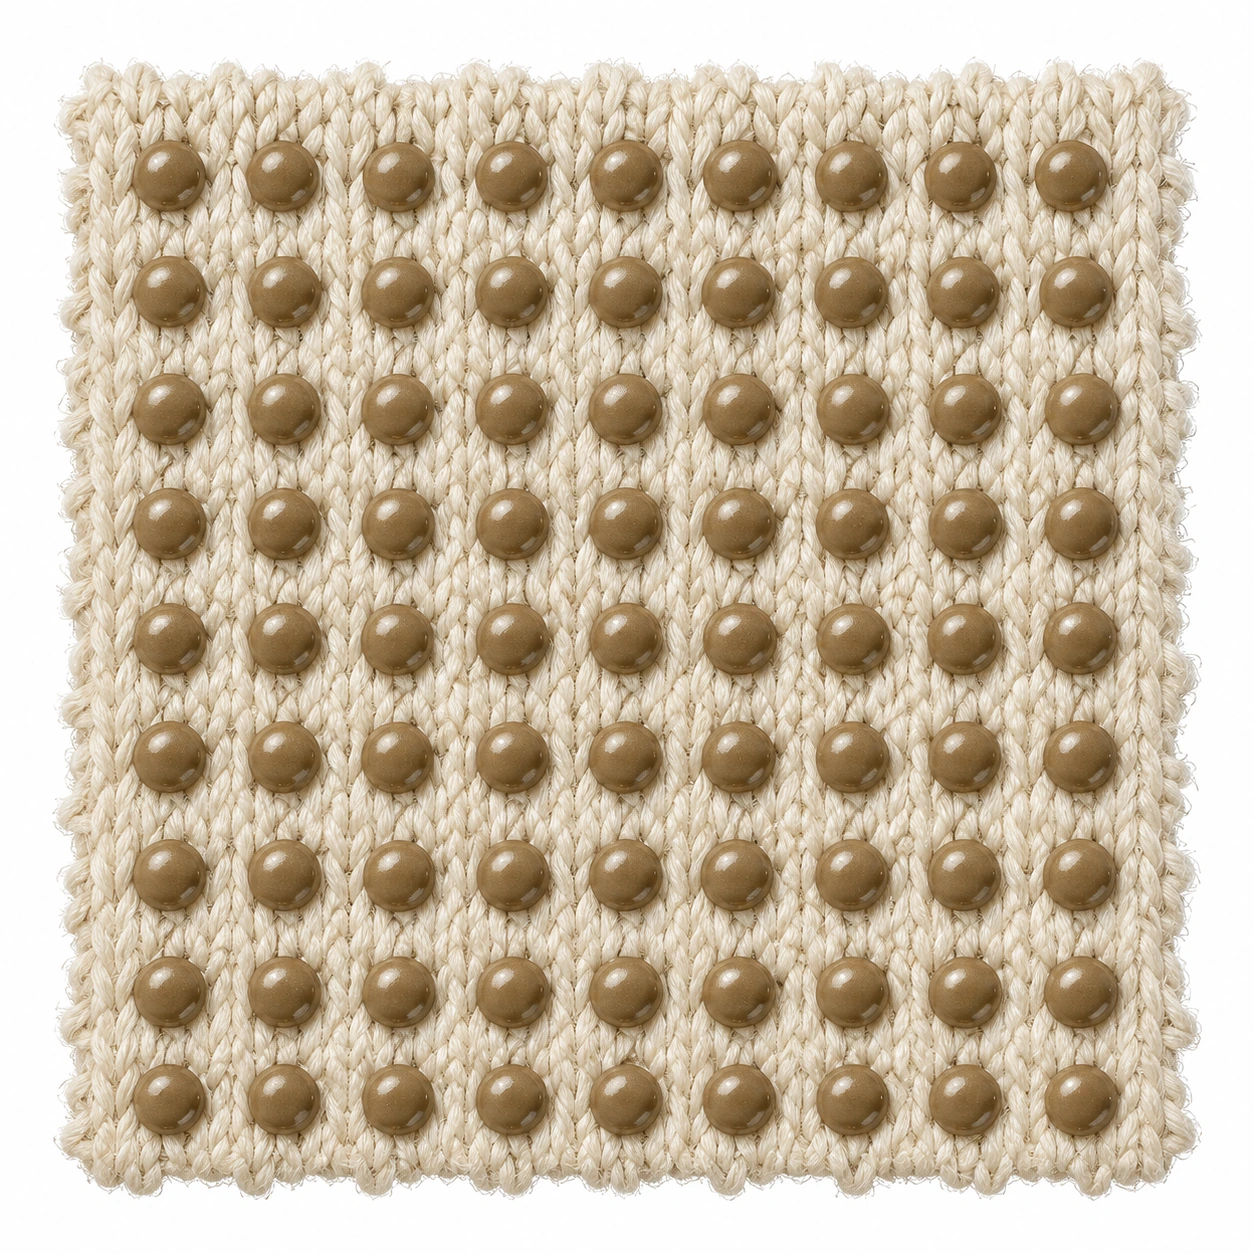
| Material direction | Why consider it | What to verify |
|---|---|---|
| Light dense stretch knit | A lighter main knit can reduce bulk while retaining coverage across seat and thigh. Desired weight should be balanced against opacity, recovery, abrasion and the intended price tier. | Test every actual colour for stretch, recovery, pilling, dimensional change, dry and wet opacity, colourfastness and stated moisture-management targets. |
| Open or micro-mesh panels | Mesh can localize airflow and create a summer visual cue, but openness, modulus and surface texture must suit the exact body zone. | Compare extension with the shell, inspect seam slippage and snagging, test wet transparency, and wear under the intended boot and saddle conditions. |
| Low-deposit grip print | A lighter print direction may preserve flexibility and reduce a coated feeling in heat while supporting knee or seat contact. | Approve strike-offs and ride-test tack, heat perception, adhesion, cracking and colour transfer after the proposed care sequence. |
These are sourcing comparisons, not a list of stocked or certified fabrics. Confirm composition, weight, finish, availability and testing with the material selected for your project.
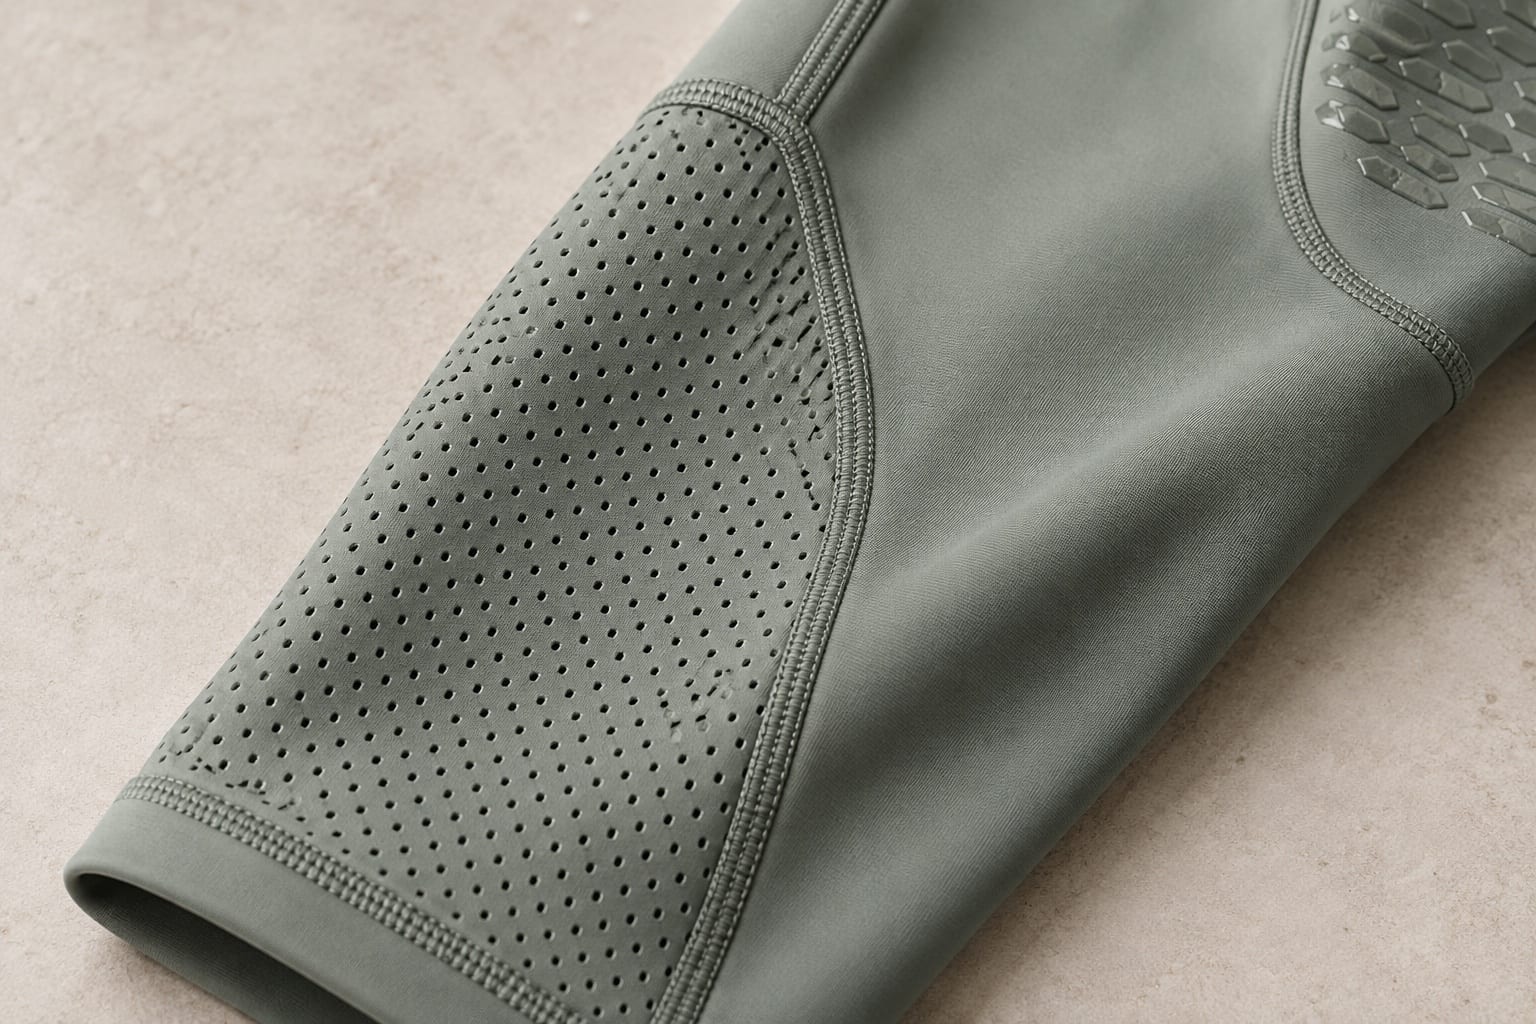 A CLOSER LOOK / DEVELOPMENT CONCEPT
IT’S IN
THE DETAILS.
Mapped mesh seams
Shape panel boundaries away from inner-leg pressure and anchor them into stable seams without abrupt stretch changes.
Low-friction assembly
Use flat or low-profile seams where appropriate, trimming intersections that could become abrasive when damp or compressed by boots.
Stable waistband
Maintain enough recovery and depth to resist sliding in sweat, testing elastic or internal support for comfort in hot conditions.
Lightweight pocket control
Anchor phone pockets so device weight transfers into stable panel lines rather than stretching the light shell downward.
FROM THE BRIEF.
INTO THE WORKROOM.
Fit and stretch have to work together. Use the chosen knit to resolve the waistband, seam route and contact areas.
Explore our factory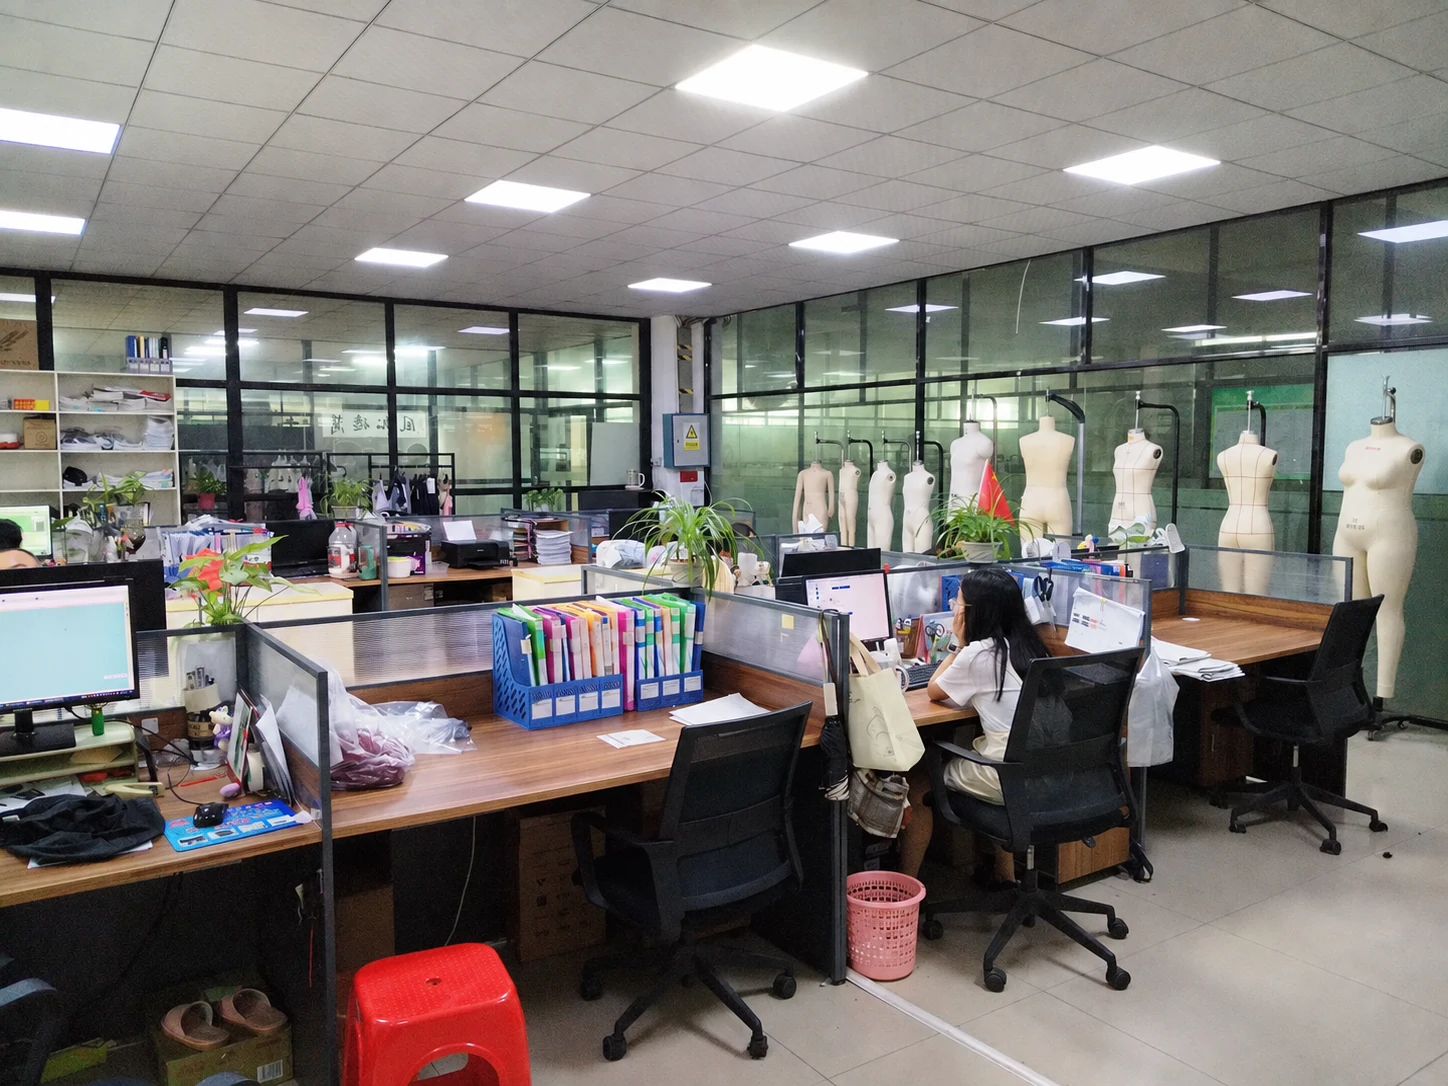
Mapped mesh seams
Shape panel boundaries away from inner-leg pressure and anchor them into stable seams without abrupt stretch changes.
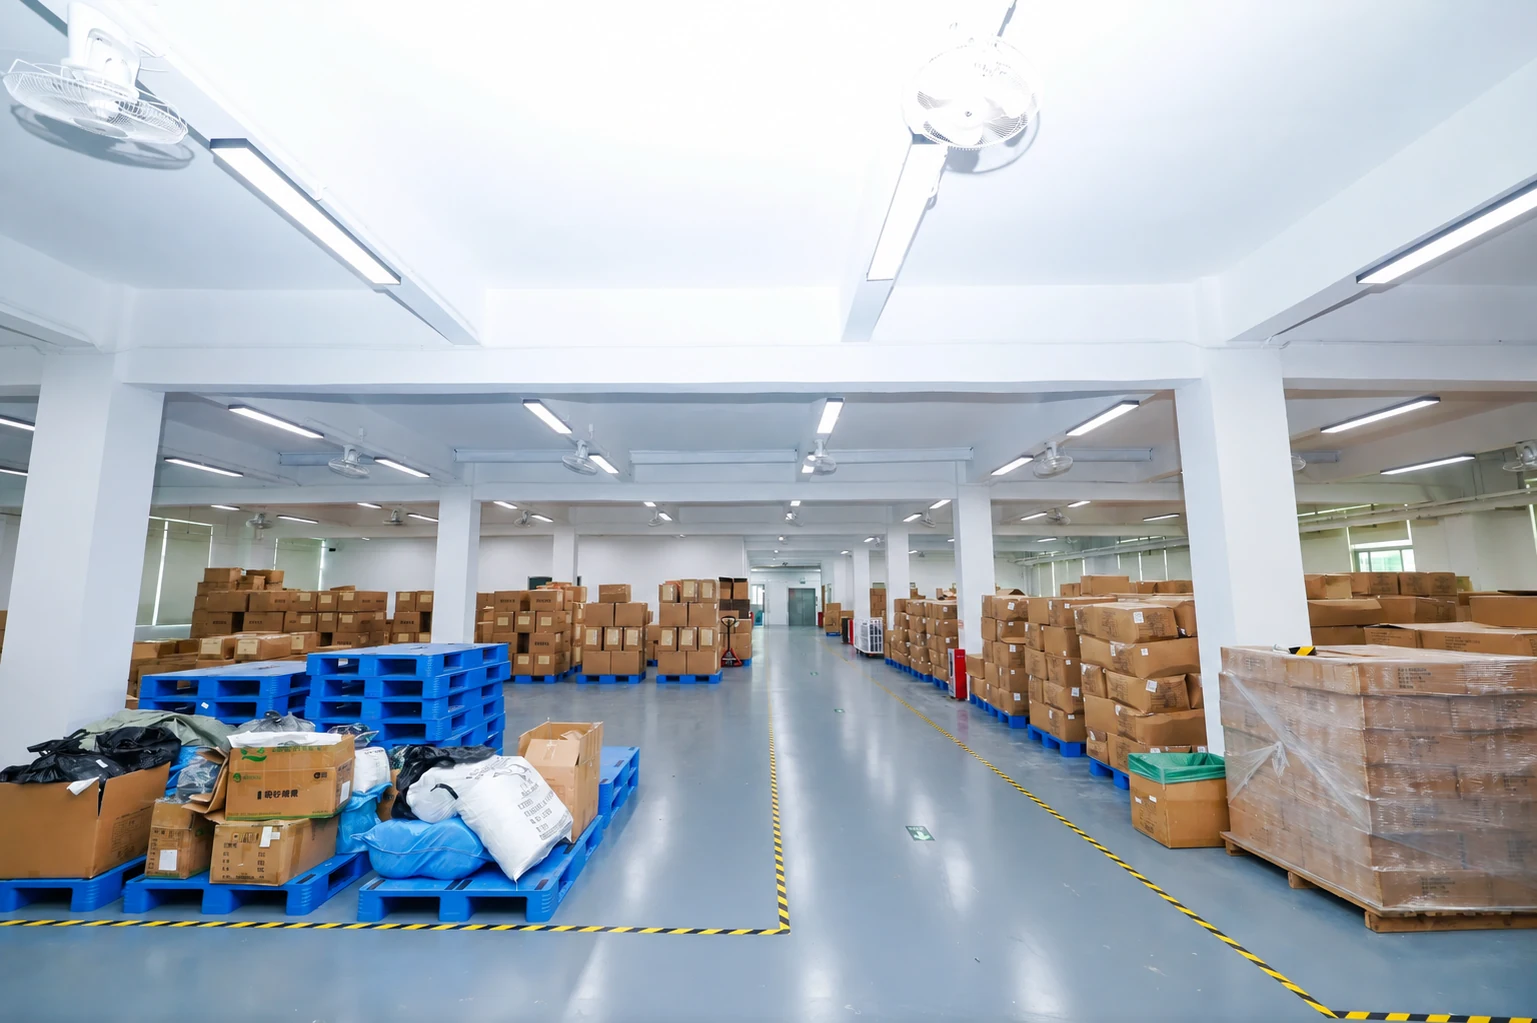
Carry this into approval Factory views show our working environment. Your garment follows its agreed specification and sample.GET THE
RIGHT FIT.
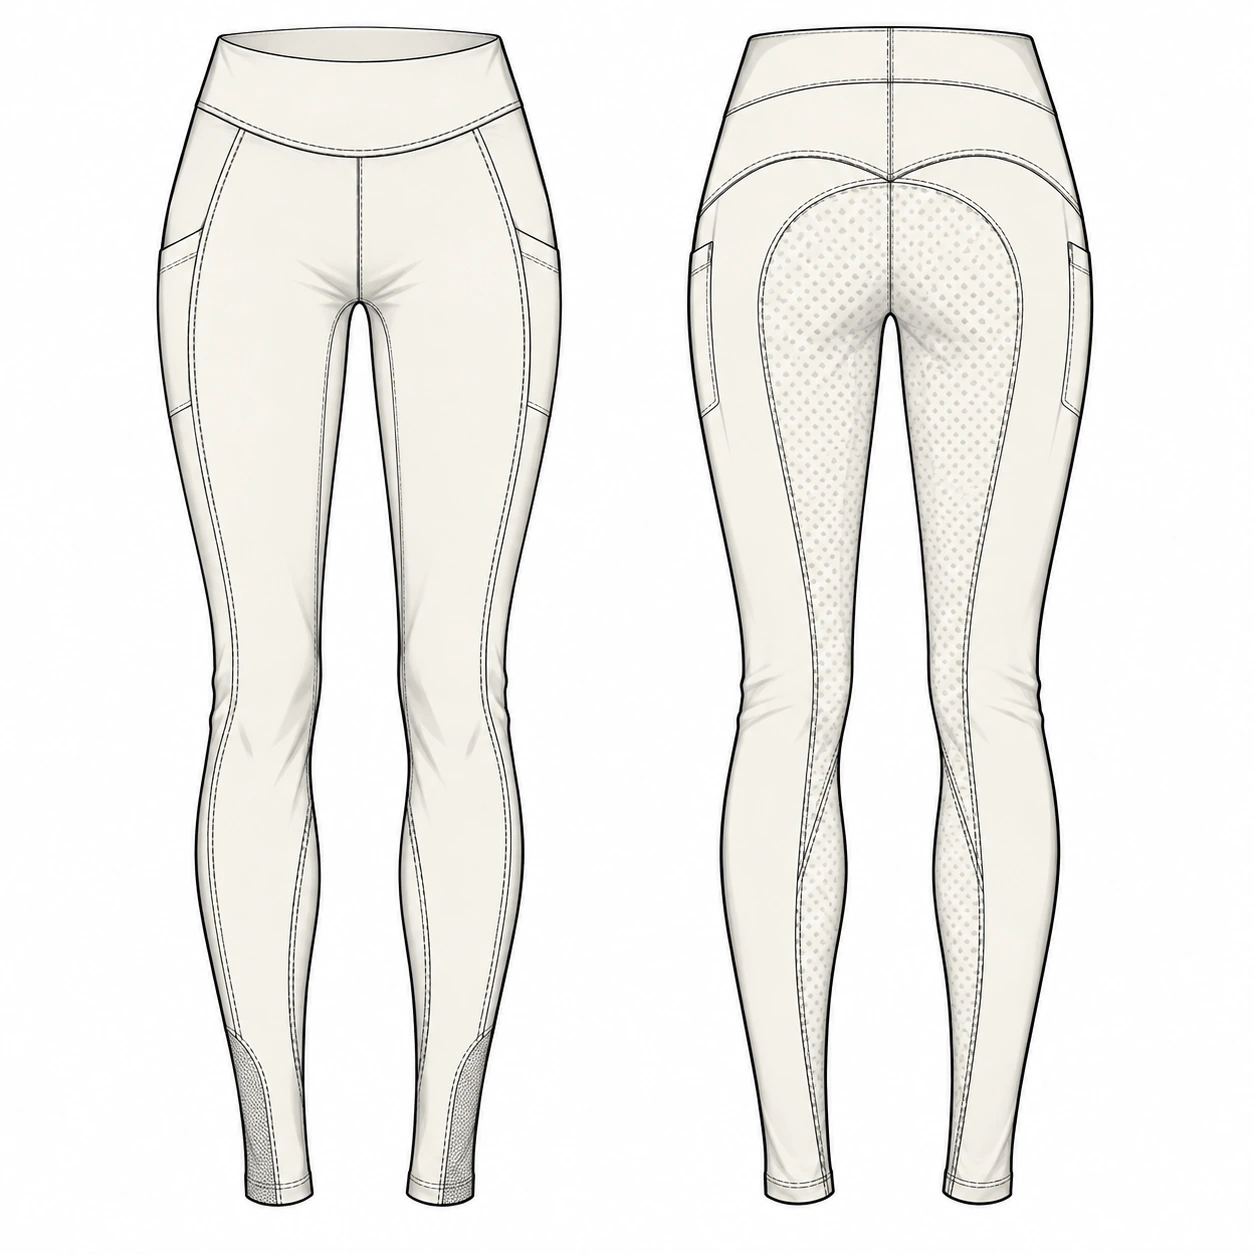
- AWaist
- BHip
- CRise
- DInseam
A size label is only the beginning. Agree the measurement method, review the garment in use and keep the approved fit record with your specification.
Your fit-session checklist
Record the size worn, body measurements, intended underlayers and every proposed correction with the dated sample.
Note the size worn, body measurements, intended underlayers and each proposed correction. Recheck the affected measurement after a revision; confirm the size breakdown for each style and colour before bulk.
MAKE IT
RECOGNISABLY YOURS.
Use the product’s construction to guide decoration and finishing. Ask for placement, colour and material approval on the relevant sample.
Small details.
One identity.
Folded edges · fine weave
Textured stock · cord attachment
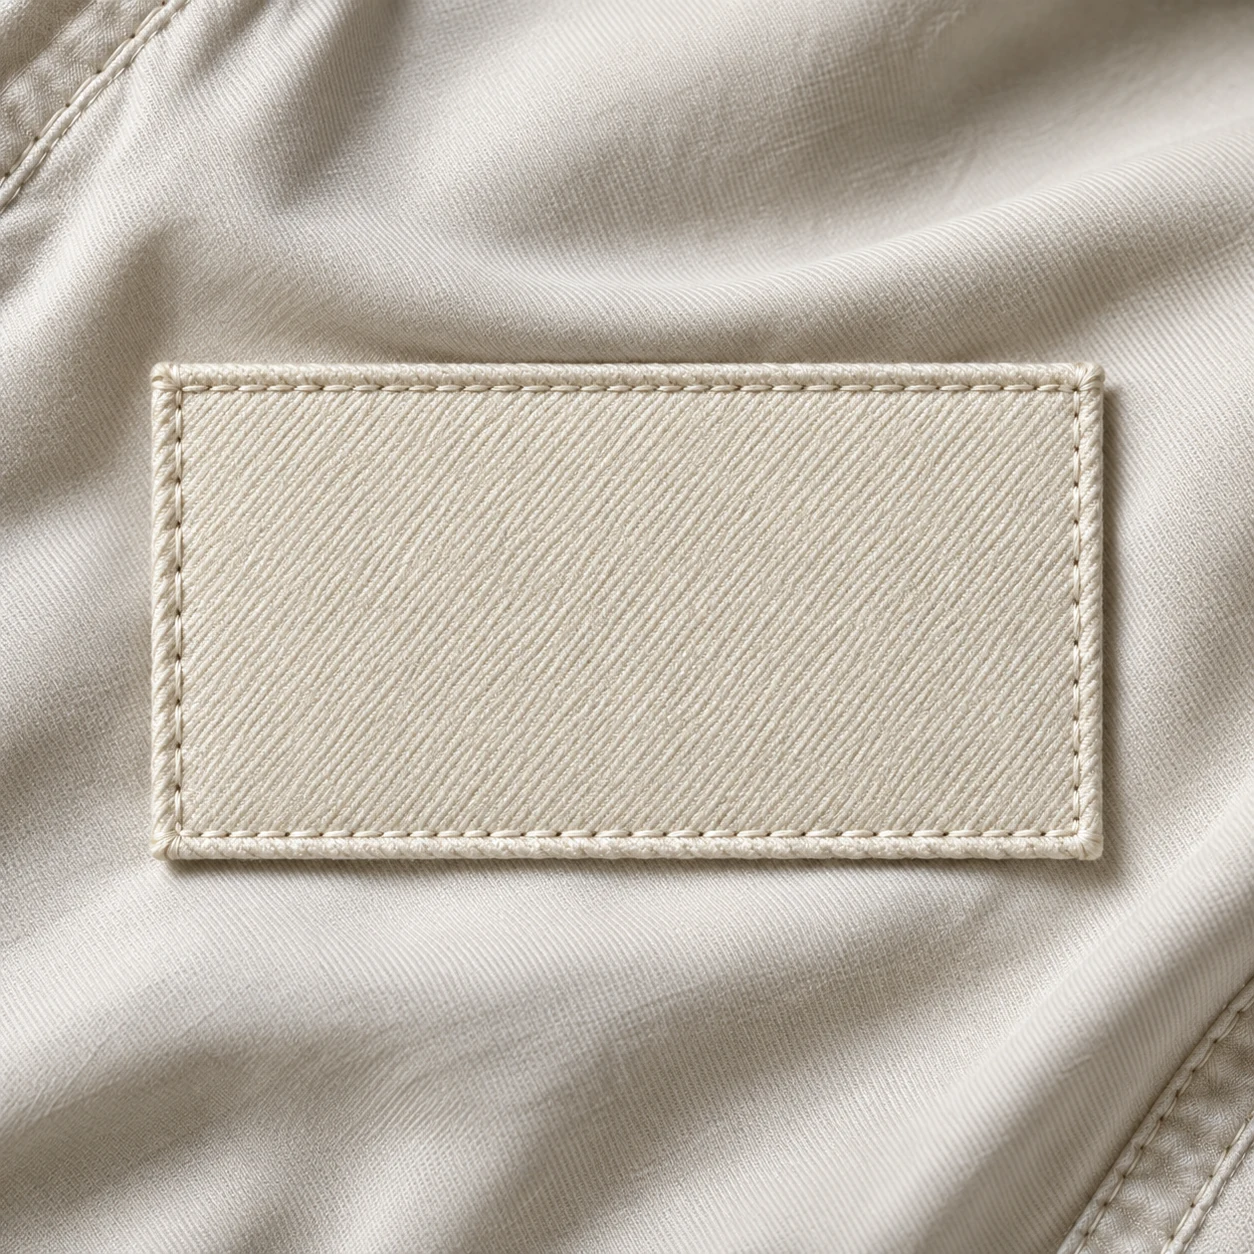
Raised edge · stitched placement
Material mockups with a live wordmark study. Print, weave, colour matching and placement are confirmed on your physical sample.
Mesh geometry
Specify exact panel boundaries, openness, colour and whether transparency is decorative or prohibited; approve each placement on a worn sample.
Seasonal grip
Choose knee or full-seat coverage and a lighter visual motif. Set desired contact sensation rather than assuming fewer dots automatically mean less tack.
Reflective accents
If low-light details are requested, define decorative versus performance intent and avoid making visibility claims without appropriate product evidence.
Summer colour palette
Review pale and saturated colours for wet show-through, crocking and panel matching; document acceptable shade relationships between shell, mesh, thread and grip.
APPROVE THE DETAIL.
THEN THE ORDER.
The first sample helps you make decisions. Define review conditions and acceptance criteria before you compare the result.
Review the summer mesh riding tights sample
Sampling takes 7–10 working days from the agreed start. Record each decision against the dated sample before bulk approval.
Rider, material direction, measurements and artwork.
DEFINE THE STARTTurn the agreed direction into a garment to review.
7–10 WORKING DAYSReview fit, finish and changes. Confirm the final specification.
REVISE IF NEEDEDProceed with agreed quantities, colours, labels and packing.
30–45 WORKING DAYSA shared development direction
Bring reference garments, your rider profile, target colours and any artwork. We turn these into the measurements, materials and construction questions that the sample needs to resolve.
Sample feedback can return to development. Revisions and transit are planned separately; timing begins from the agreed specification and start date.
KEEP THE APPROVAL.
WITH THE ORDER.
One agreed reference for the workroom: the dated sample, its specification and your confirmed order breakdown.
Sample decisions
- Hot-session wear
Ride for the intended session length in representative conditions, recording waistband slip, chafing, cling, airflow perception and pocket movement.
- Wet opacity
Dampen seat and mesh zones consistently, then assess coverage over contrasting underwear under direct and diffuse light while flexed.
- Mesh snagging
Inspect panels after contact with hook-and-loop closures, boots and normal barn surfaces, using an agreed comparative reference rather than unsupported claims.
Style, colour & size allocation
Confirm each style and colour separately, with the size allocation attached. The minimum is 100 pieces per style, per colour.
Labels, packing & timing
Agree label artwork, packing instructions and the production start. Bulk production takes 30–45 working days from the confirmed start; revisions and transit are planned separately.
A CLEARER BRIEF.
A MORE USEFUL QUOTE.
Price follows an agreed product, quantity and delivery scope. Use these inputs to compare proposals on the same basis.
Mesh panel count
More shaped inserts increase pattern pieces, cutting, seam length, matching and inspection work.
Performance verification
Substantiating moisture, drying, UV or colourfastness claims requires defined methods and actual-material testing.
Lightweight shell
Achieving low weight with adequate opacity and recovery may narrow sourcing choices or increase cost.
Colour matching
Shell, mesh, thread, grip and trims may dye differently and need separate approvals.
Bring these six things
Planning baseline: 100 pieces minimum per style, per colour. Sampling takes 7–10 working days; bulk production takes 30–45 working days from the agreed start.
100 pieces minimum per style, per colour. State each colour quantity separately; confirm your proposed size allocation.
GOOD QUESTIONS.
BETTER DECISIONS.
Product-specific sourcing questions to resolve before sampling.
Map it outside direct saddle, inner-thigh and boot pressure zones, then validate on the intended rider. Behind-knee or lower-side placements are common design directions, but the correct location depends on boot height, panel stretch and seam comfort.
Only use a defined claim after agreeing the relevant method and obtaining support for the actual production material or finished garment as required. Mesh appearance or a supplier’s generic brochure does not automatically substantiate a branded product claim.
Review weight together with stretch, recovery, dry and wet opacity, pilling, abrasion, colourfastness and pocket stability. Test it in the complete pattern and colour because seams, grip, strain and pocket bags can change performance.