 REINFORM
Identify the zipper that the garment will actually use
Begin with the proposed garment and the job its zip must perform. A full front opening on a fleece jacket, a short opening at a base-layer neck and a breech fly create different assemblies. Identify the position, opening arrangement and surrounding layers before asking a supplier for a test report. The approval should refer to that combination, rather than to a photograph of a similar zip.
Give the component a usable identity: supplier and article code, nominated size, length, colour, tape, slider and pull, locking function where specified, and the relevant stops or separating parts. Add the garment style and bill-of-materials revision. Leave unconfirmed fields open for the supplier to resolve. A familiar brand name or a number on the slider cannot replace a complete component reference.
Ask which sample stage the component represents. The first development garment may contain an available substitute while the nominated trim is being sourced. That can help a fitting proceed, but mark the substitution and keep closure approval pending. A favourable result on the substitute should not quietly release a different component for bulk assembly.
Keep zipper testing for strength and operation distinct
Read the property named on each report before considering its result. YKK describes repeated opening and closing under loading separately from a lateral chain strength test. These ask different questions: how the mechanism operates through repeated movement, and how the chain responds to a particular applied force. Neither description supplies a universal pass mark for your garment.
A report headed only “zip test: pass” leaves the buyer unable to establish what was assessed. Request the identified component, method and edition where applicable, specimen condition, reported output, units, agreed requirement and any deviation. Check whether the laboratory evaluated the chain, slider, pull, stops or another part. Do not assume that an acceptable result for one part covers the others.
Compare results only after confirming that their methods and conditions are comparable. If one supplier reports a component before treatment and another reports an assembly after washing, the figures do not form a simple ranking. Ask the laboratory to explain the difference and quote the missing work. If your team has not established an acceptance criterion, record the result for review rather than inventing a limit to produce a pass.
Commission the missing evidence before sending samples
Use a short gap list to commission further work. For each concern, state the component or assembly, its identity, the question to be answered, the proposed care state and the decision the result will support. Ask the laboratory to confirm the appropriate method, sample quantity and practical limitations before sending material. This is particularly useful when the required specimen cannot be taken from the available garment.
Intertek publicly offers assessment of components including zippers before manufacturing, as well as work on finished garments and materials. That illustrates why the submission stage belongs in the instruction. Agree whether the commission concerns a loose production-intent zipper, a sewn section or a finished garment; the laboratory should confirm what its chosen procedure can assess.
Keep the laboratory instruction separate from the factory sample comments, while linking both to the same revision. A request to improve the lining clearance is a construction correction. A request for an identified strength or operation test is an evidence commission. Name an owner and due date for each, so a returned sample does not close a laboratory question merely because it looks better.
Review the sewn assembly where problems can occur
Inspect the production-intent garment with the nominated zip installed. Open and close it while looking at both faces of the assembly. Check the lining, facing, guard, seam allowances and nearby binding along the slider path. Record where fabric enters the mechanism, operation becomes hesitant or the front changes shape. A short annotated sequence can communicate the location more clearly than “zip not smooth”.
YKK’s sewing guidance explains that stitching too close to the elements can allow fabric to catch or make opening and closing harder; the needed clearance depends on the component and its use. It also calls attention to stretch when installing long zippers, especially on knitted materials. Use this as a reason to examine the actual assembly and seek supplier advice, not as a universal seam-distance specification.
For a full front opening, compare the garment with the zip open and closed. Note any uneven front lengths, waviness, twisting or displaced hem. For a partial opening, inspect the lower end, the transition into the garment and the space available for dressing. At the collar, review the closed position and the reverse side against the proposed inner layer. Record observations against the drawing and sample revision.
Use wearing checks to find issues for investigation
A wearing check can reveal an assembly issue that is difficult to understand on a flat bench. Plan the check around the garment: dressing and removal, reaching forwards, bending and a seated posture where relevant. Use the intended layering arrangement and record the sample size and wearer information needed to interpret the comments. Obtain the same information when comparing a corrected sample.
Observe whether the wearer changes posture to operate the zip, catches an inner layer or feels pressure at the chin or lower end. For a jacket, record whether opening the lower part changes seated comfort where the specified zip permits it. For a pullover, check the head opening without forcing the garment through a restricted opening. Do not turn difficulty during dressing into an improvised strength test.
These are buyer development observations, not laboratory test results or proof of a service life. State the activity and the observed issue without claiming that the sample has passed an unnamed riding standard. Where a problem could have several causes, keep the comment open for technical review: a tight front, bulky seam and unsuitable component can require different corrections.
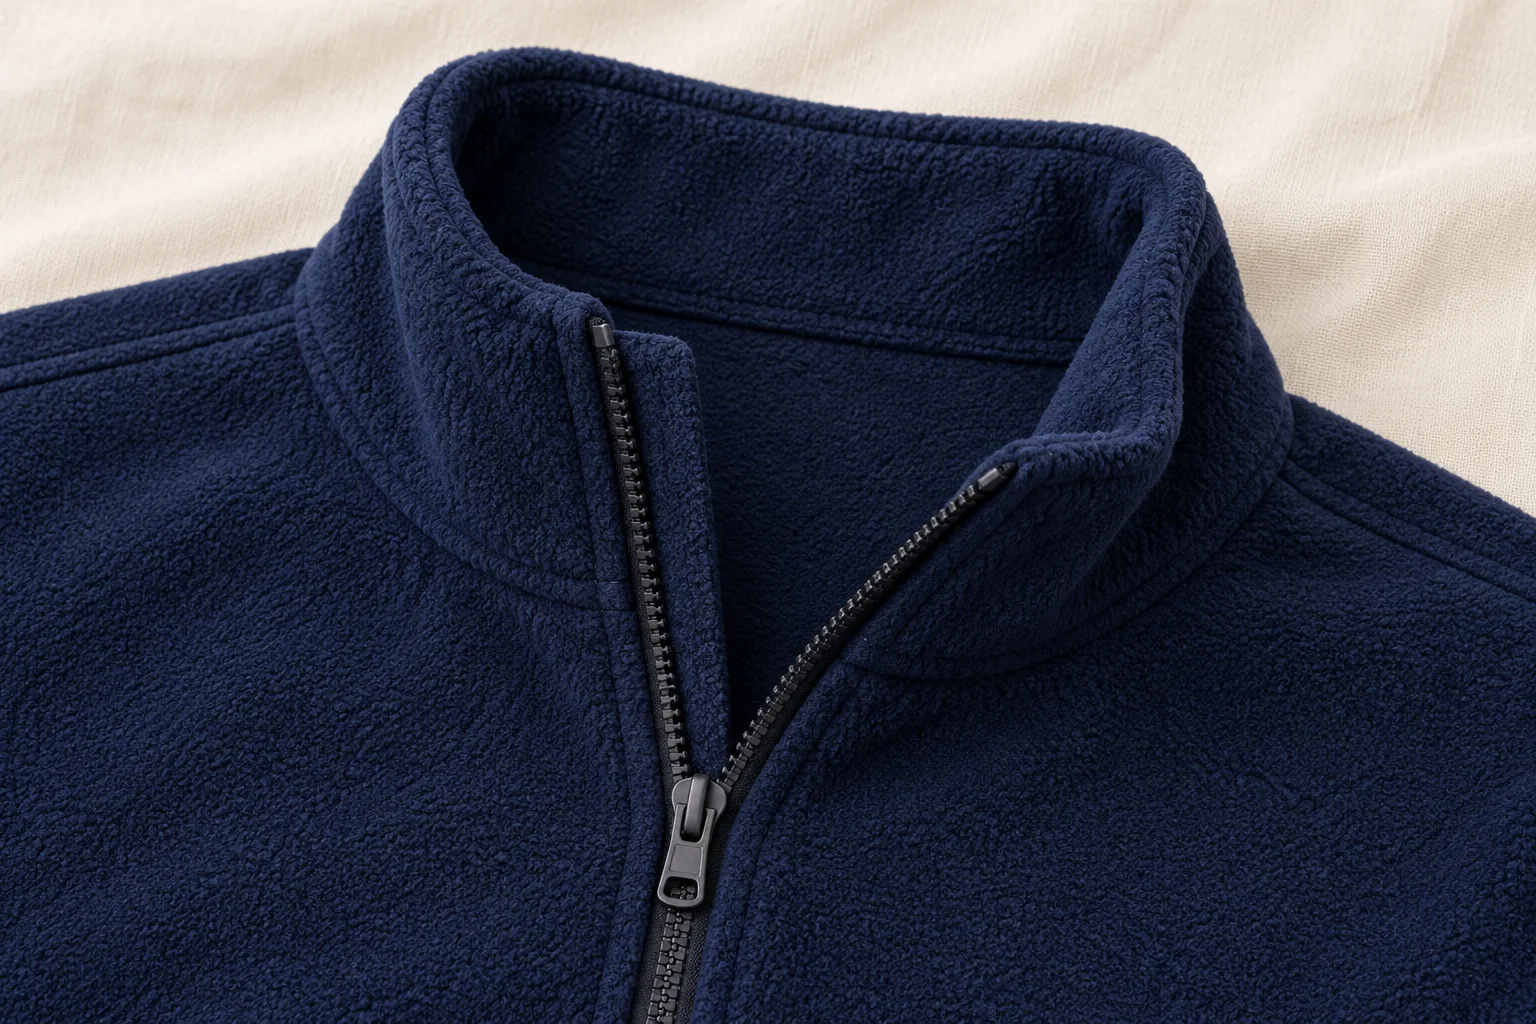
Review the separate partial-opening and layering questions for a quarter-zip fleece pullover.
Bring care and finishing into the assembly review
Keep the proposed care route with the sample record. Ask what evidence is available for the zip, surrounding material and their combination under that route. If the garment will receive a treatment during manufacturing, identify it separately from consumer care. A component approved before the relevant treatment may leave an important question unanswered.
YKK’s December 2013 usage manual describes cotton-tape zipper examples in which differences between the tape and garment fabric can cause puckering after processing. It recommends pre-production checks for the situations it describes. The manual also explains how trimming tape or pairing separated stringers incorrectly can introduce problems during assembly. These examples support checking the finished combination; their product-specific settings are not general instructions for a new style.
After the agreed care assessment, compare the same areas reviewed beforehand: front shape, end alignment, slider path, surrounding layers and collar contact. Record the actual treatment and sample identity with the observations. If a change appears, ask whether the material, component or sewing process needs investigation before requesting another sample. Keep separate material-test results available without treating them as automatic closure approval.
Specify the underlying material and care conditions with the fabric-testing guide.
Describe a correction the sample room can reproduce
Locate the issue and describe the circumstances that produce it. “Lining enters the slider near the upper front when the collar is closed” is more useful than “poor quality zip”. Include the sample reference, affected side, a close view and a wider view showing the assembly. Ask the developer to propose the correction rather than prescribing a component replacement before the cause has been examined.
Agree what the next submission must demonstrate. If the facing is revised, update its drawing or construction note and identify the new garment sample. If the component changes, update the bill of materials and assess the evidence affected by that change. Keep the original issue and the response together so the next reviewer can see whether the correction actually addresses it.
Close comments individually. A smoother slider path does not resolve a remaining collar contact issue, and a neater front does not establish the required laboratory result. Where a compromise is accepted, name it, identify the garments it covers and record the person authorised to accept it.
Keep one closure approval record
The following fields can be copied into the development file. They are a suggested buyer record, not a test standard. Use links or document references where the underlying evidence is stored; avoid copying a pass label without its scope.
- Garment reference: style, size, colourway, sample stage, drawing and bill-of-materials revision.
- Component identity: nominated supplier/article, opening arrangement, size, length, tape, slider/pull and other agreed details; mark every substitute.
- Component evidence: report reference, tested item, method and conditions, result, applicable requirement and reviewer’s outstanding questions.
- Assembly review: slider path, surrounding layers, front shape, ends and collar contact; attach observations to the relevant sample.
- Wearing review: sample and layering arrangement, activity, observation and any limit on what was assessed.
- Care or finishing review: treatment reference, before-and-after observations and unresolved compatibility questions.
- Decision: accepted, accepted for a named stage with conditions, or held; identify corrections, owners, resubmission and evidence still required.
- Release scope: the exact component/garment revision, authorised next activity, decision owner, date and the changes that require another review.
That example describes a hypothetical held decision, not a completed REINFORM test or order. Its purpose is to distinguish progress on one construction point from approval of the entire closure.
Reopen the relevant decision after a change
Before accepting a substitution, compare it with the record: component article, tape, slider, finish, length and the garment materials or construction around it. Ask which evidence still applies and which checks must be repeated. A colour or finish change may require a different review from a revised facing; neither should be cleared solely because the replacement looks similar.
Keep the scope proportionate. Reassessing an affected assembly does not mean repeating every unrelated fabric test. It means documenting the change, the possible consequence, the evidence retained and the new work needed. If the supplier cannot establish that connection, hold the affected approval rather than treating the previous report as transferable by default.
Send the released component and garment references into production together. Identify how later substitutions will be raised and who can authorise them. Development approval gives production a controlled reference; the separate finished-lot inspection brief governs how delivered garments are checked against it.
Keep lot sampling and shipment release in the separate AQL inspection brief.
These references cover supplier processes, textile testing and market-specific labelling. They do not certify REINFORM or set the terms of your order. Confirm the product specification, destination requirements and quotation with your team.
Prepare the garment and closure brief
Share the garment reference, proposed opening, component information and unresolved sample questions. We can use them to discuss the apparel development brief. The MOQ is 300 pieces per style, per colour.
Discuss your apparel project