 REINFORM
Keep button-component evidence separate from adult garment evidence
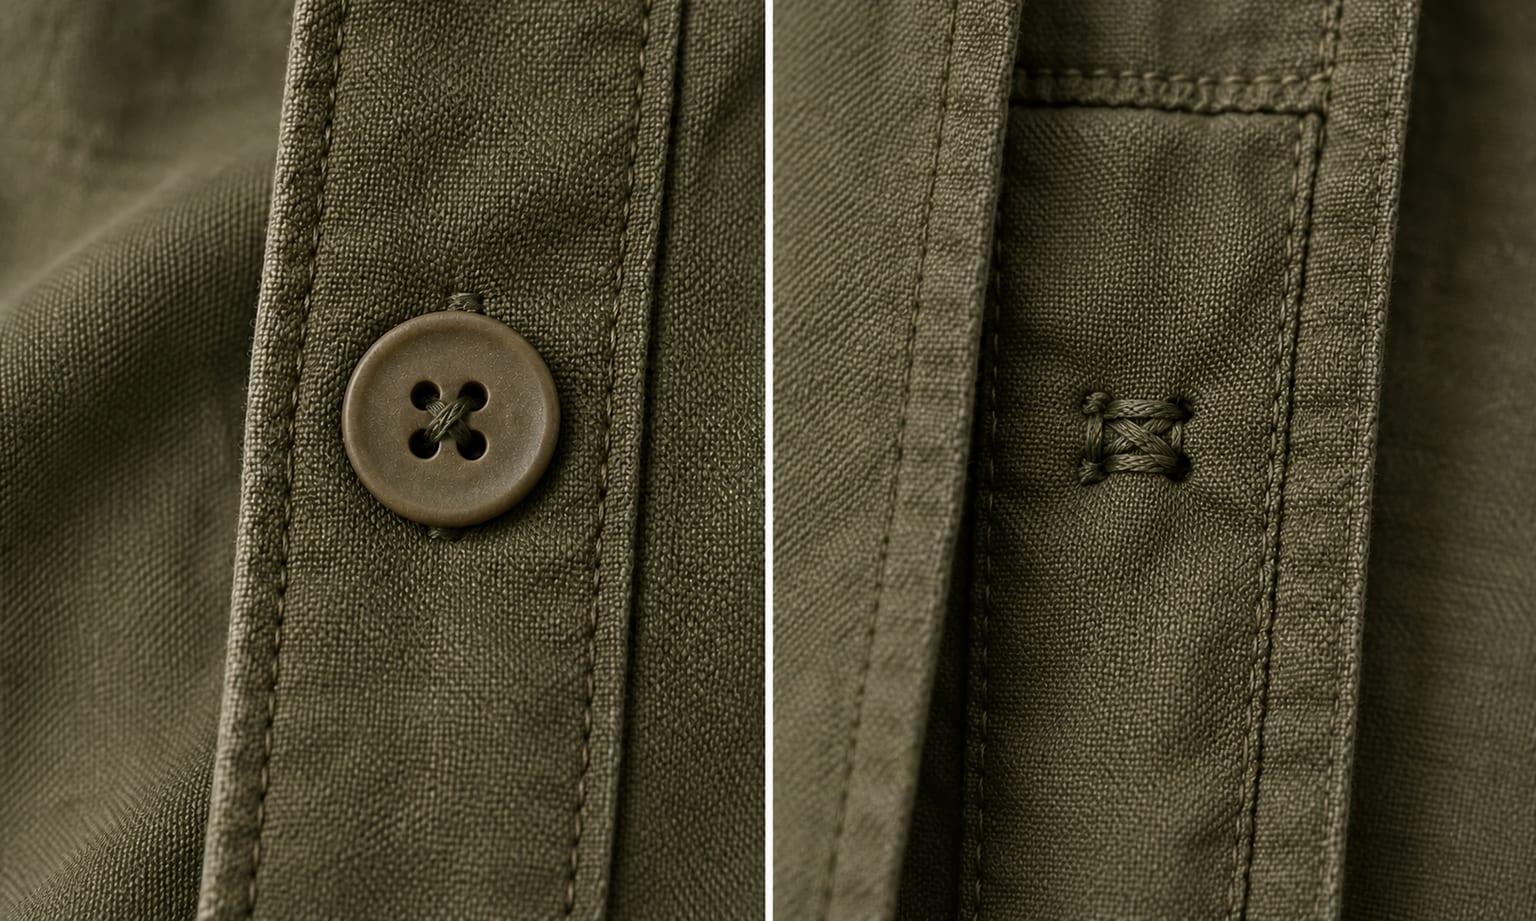
A button method may still use a button sewn onto fabric as its specimen. “Component evidence” does not mean that an unsewn button is pulled in isolation. The distinction is what the method is designed to measure and how its fixture, specimen and result relate to the button bridge—not whether a scrap of fabric appears in the test. Read the report’s method, specimen description and result together; do not infer a production placket approval from the presence of a fabric swatch.
EN 17394-2:2020 is explicitly titled a safety method for buttons on children’s clothing. The public EVS description says its scope is limited to sewn-on buttons, toggle buttons and tack buttons, and points to other documents for other garment components. That scope is useful to recognise, but it does not establish a test protocol, pass force or safety claim for an adult equestrian overshirt. Do not label an adult style compliant with that children’s clothing method merely because the garment also has buttons. The buyer and laboratory must confirm what, if anything, is appropriate for the adult brief and destination.
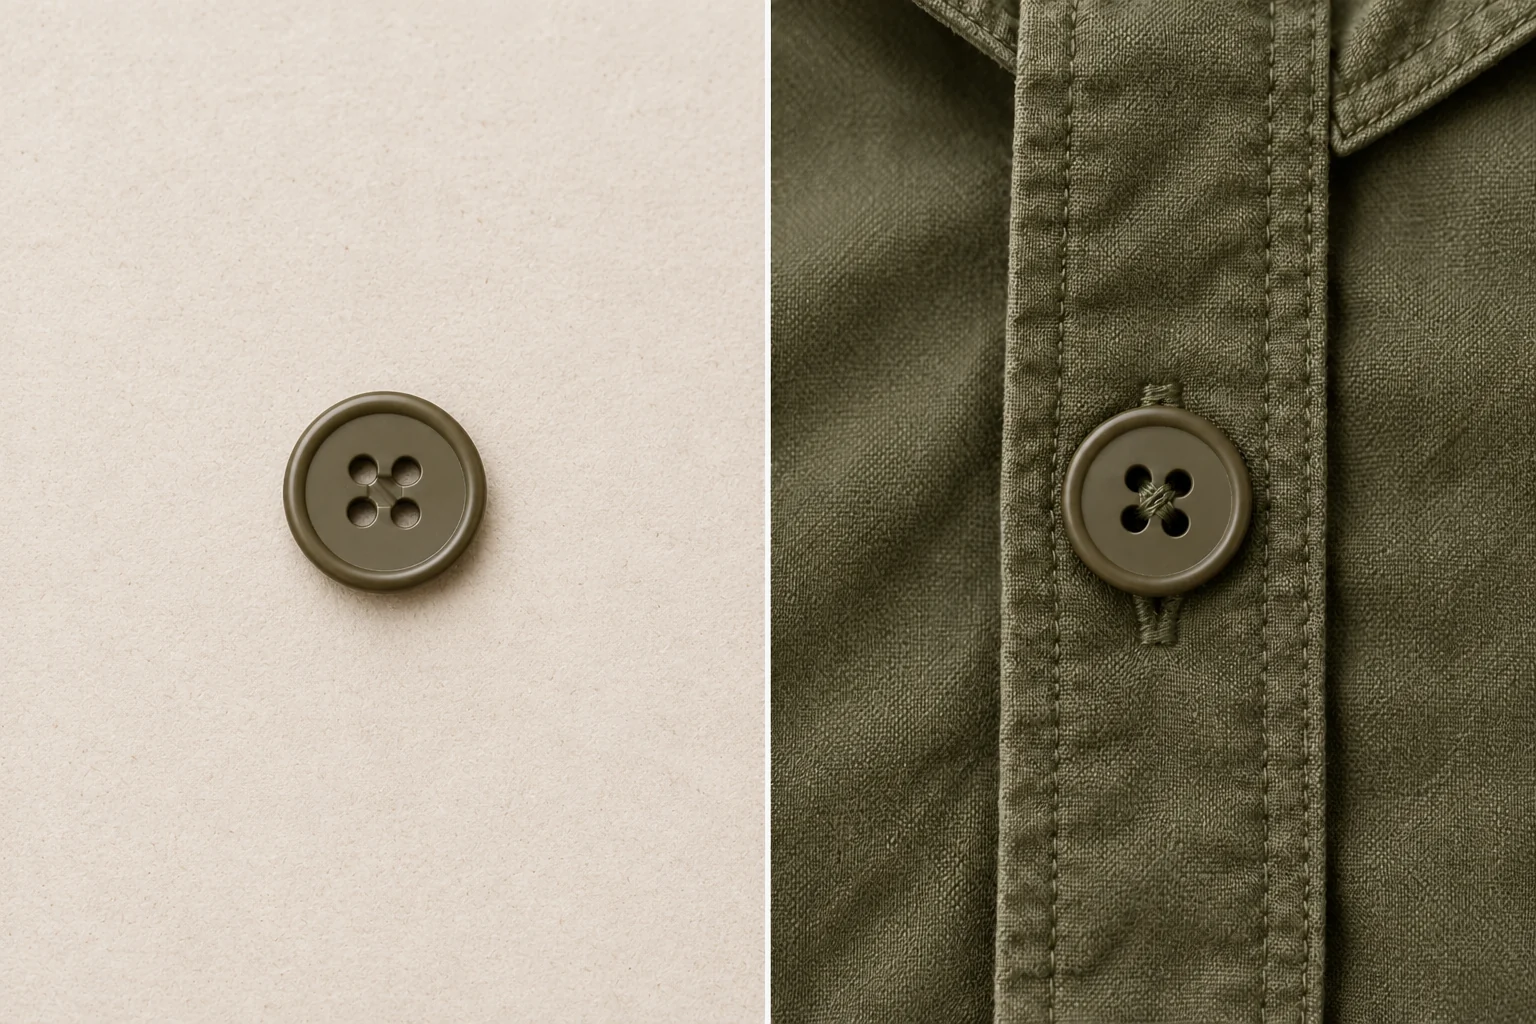
For a whole attachment question, give the lab the exact adult garment or a representative sewn section, not only a loose production button. Ask it to confirm whether the proposed specimen captures the thread path, placket layers and support that matter to the buyer. If the lab recommends a component method first, retain that as one piece of evidence and state what it leaves unresolved. The article does not prescribe a force, duration, conditioning cycle, fixture or universal acceptance threshold; those are part of a method and project requirement that must be agreed by the responsible technical buyer and competent laboratory.
Record where the opening happened, not what you think caused it
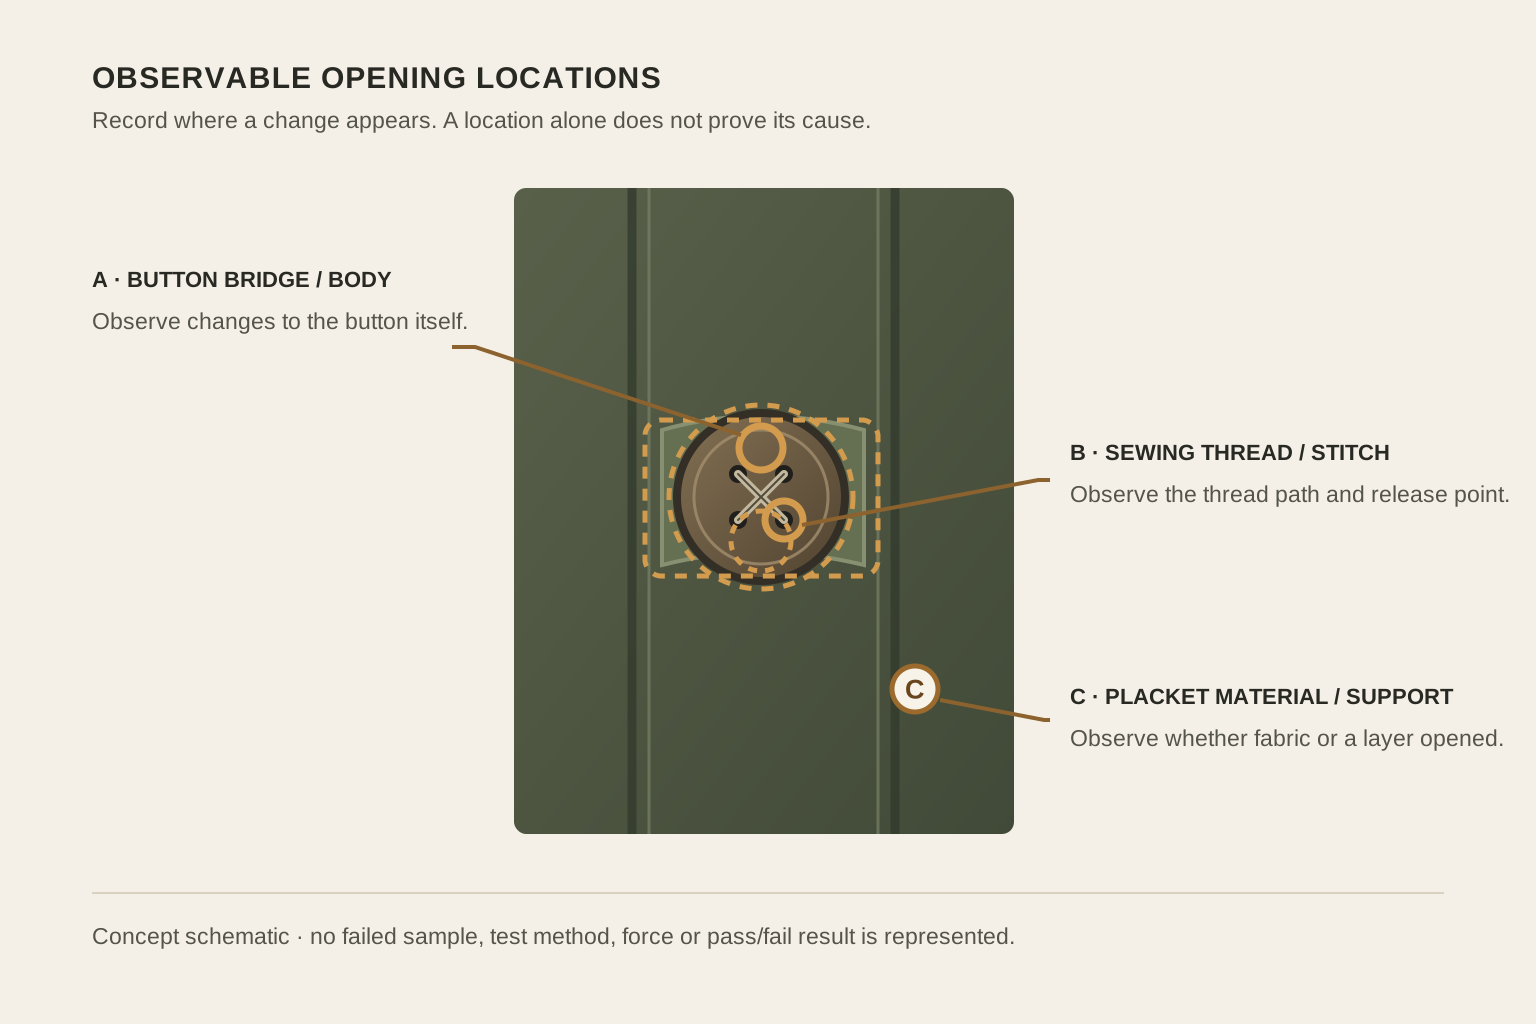
When a sample or test specimen opens, first record the visible location and what remains intact. “Button came off” is not enough to choose a revision. Photograph both faces, keep the parts together and identify the garment and sample revision. If the location cannot be distinguished, mark it as unclear and ask the laboratory to describe or inspect the failure. A failure location is an observation; it is not proof of a unique cause.
- Button bridge or body: record whether the button itself is visibly cracked, split or otherwise changed while the surrounding thread and fabric remain. This points to a component question for the nominated button supplier or a controlled comparison; it does not establish why the component failed.
- Sewing thread or stitch path: note whether thread is broken, pulled free, or still intact around the button. Review the sewing specification, stitch arrangement and operation record with the factory or laboratory before selecting a thread or stitch revision.
- Shell, placket or local support: record whether the fabric opened, distorted or separated at a layer boundary while the button remains intact. Review the exact material stack and support construction; do not add interfacing or reinforcement as an automatic fix.
- Mixed or indeterminate opening: preserve the specimen and report the uncertainty. Ask the lab whether its method can distinguish the observed locations or whether a separately agreed garment-section assessment is needed.
These branches are questions to investigate, not a failure-diagnosis chart. A cracked button can coexist with thread damage; a fabric opening may reflect more than one contributing condition. Do not assign causality from one appearance, one specimen or an illustration. The practical use of the record is to prevent a buyer from changing the wrong part of the assembly and then treating that unverified change as a solution.
Send a brief that keeps the component and garment decisions linked
A buyer can send a focused request in a short note, then let the laboratory confirm the right procedure. For the olive overshirt, a useful request would name the garment and button position, identify whether the buyer wants bridge evidence or an adult sewn-attachment assessment, and list the production-intent button, thread, shell, placket and support references. Attach a front-and-reverse location image or drawing and identify whether the specimen is a button on test fabric, a sewn placket section or a sample taken from a complete garment.
- What exact decision will the result support: compare a component, review an assembly revision, or assess a buyer-defined requirement?
- Which button type, button position, thread, shell, placket layers and sewing revision does the specimen represent?
- What specimen preparation, loading arrangement, conditioning and reporting can the laboratory support for this adult garment? Ask it to confirm method suitability and boundaries.
- Who supplies the acceptance criterion, and what is the status if no criterion has been approved? Keep the latter as development data, not a pass.
- How will the tested item be matched back to the approved sample and order revision before any bulk decision?
This is not a substitute test procedure. It is a way to make sure the quote, specimen, report and product decision all refer to the same attachment question. If the laboratory cannot assess the full garment attachment with the requested method, ask it to say so and propose an appropriate alternative. Keep the original request and any revised scope together so that the buyer knows exactly what evidence has—and has not—been produced.
Close the sample decision without overstating the result
At sample approval, connect the observation, chosen revision and new evidence to the exact garment version. A component-level result may support a button selection. A sewn-section result may support a defined attachment revision. Neither alone demonstrates comfort, repeated wear, care durability, competition approval or every production unit’s condition. Keep any required wear, wash or batch inspections as separate decisions with their own evidence.
For equestrian brands and team buyers developing shirts for the US, UK or European markets, list the destination and intended product age group on the brief. Do not assume that a children’s standard governs an adult shirt or that the same rule applies in every market. REINFORM’s confirmed commercial terms are MOQ 300 pieces per style per colour; sampling takes 7–10 working days from the agreed start; and bulk production takes 30–45 working days after sample approval, confirmation of the specification, materials and order details, and agreement of the production start date. Sample revisions and shipping are planned separately.
If you are preparing a buttoned riding-shirt or team-layer brief, identify the button type, placket construction and the question you need the evidence to answer. Those details let the project team discuss a feasible sample-development scope before bulk planning; they do not imply an in-house test service or an already approved button construction.
ASTM lists D6644-01(2025) as active; the public catalogue scope says it measures resistance of the bridge of a sew-through button to increasing strain. The full paid procedure was not read. This scoped button-bridge result should not be treated as a complete adult garment-attachment approval. The public EVS description of EN 17394-2:2020 identifies it as a children’s clothing button-attachment method with a defined button scope. Neither source supplies a universal force, duration, or acceptance criterion for the adult team overshirt discussed here. The buyer and competent laboratory must agree the adult specimen, procedure and decision criterion. This article gives no test result, certification or REINFORM in-house testing claim.
Define the button question before sampling
Share the button, placket construction and garment question you intend to develop. We can discuss an OEM/ODM sample-development brief; test method, testing and acceptance remain with the buyer and competent laboratory. MOQ is 300 pieces per style per colour.
Discuss button and placket development